How to Add Plumbing to an ADU
A leaky faucet drips a slow, steady rhythm, waking you at 3 AM. Water stains bloom on the plaster ceiling, spreading like an ugly map. The frustrating moment when a simple home repair feels like a huge mountain to climb hits hard for many homeowners. We understand the challenges of home projects. Building a new Accessory Dwelling Unit, or ADU, adds a whole new layer of practical considerations. The small living spaces demand careful planning. Our guide simplifies the steps for adding ADU plumbing to your backyard cottage or guesthouse. You will find practical advice for setting up water lines and drain pipes. We break down the complex process into simple, manageable pieces for your next building project.
1. Compact Water Heater Installation
This compact water heater installation brings ADU plumbing to life with thoughtful styling and considered details.
2. Under-Sink Filtration System
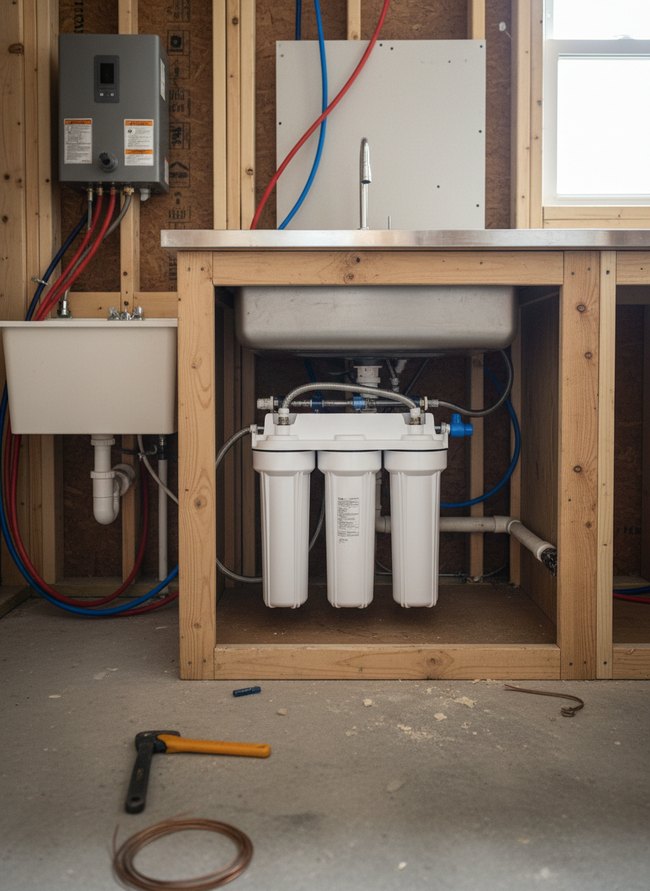
Three white filter cartridges sit neatly beneath a metal utility sink. Blue and red plastic pipes bring clean water to the faucet, providing fresh drinking water. The filtration system ensures your ADU plumbing delivers potable water right to your tap.
3. Efficient Graywater Recycling
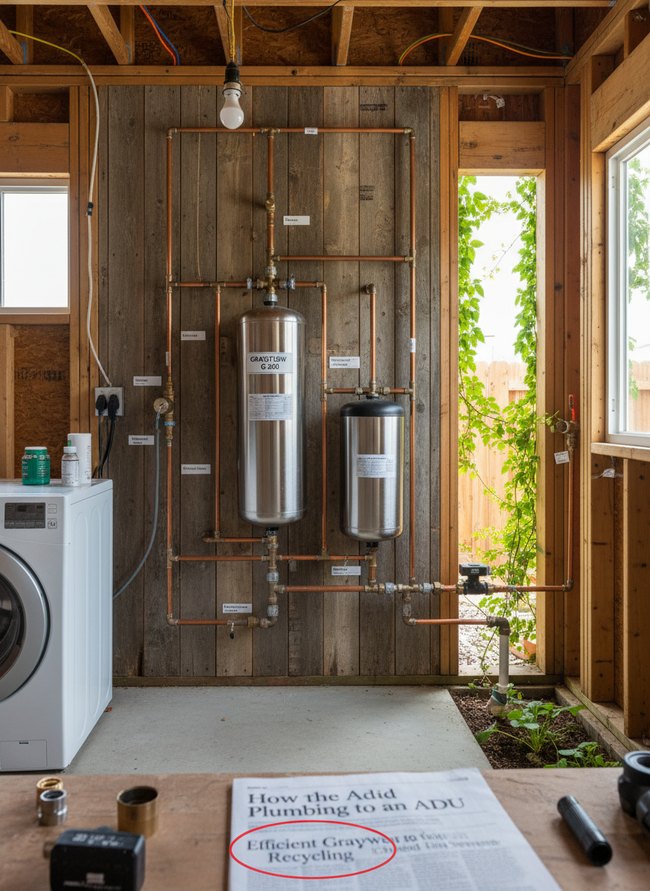
Two shiny silver tanks stand tall against rustic wooden planks, connected by a network of warm copper pipes. The system reuses water from your washing machine, sending it through the pipes to the tanks for cleaning. The graywater recycling setup makes your ADU plumbing more eco-friendly, saving water with every laundry cycle.
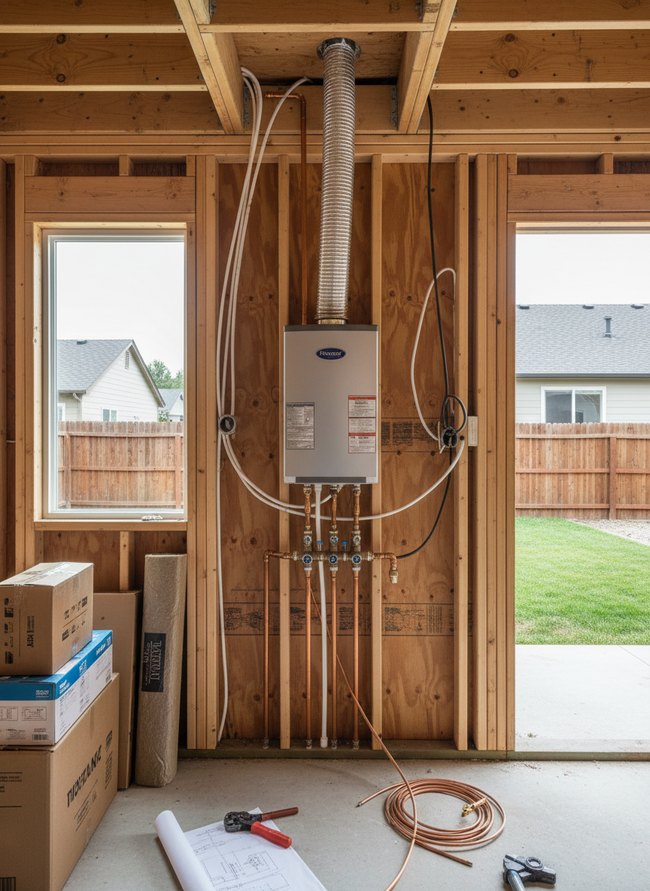
4. Tankless Hot Water Integration
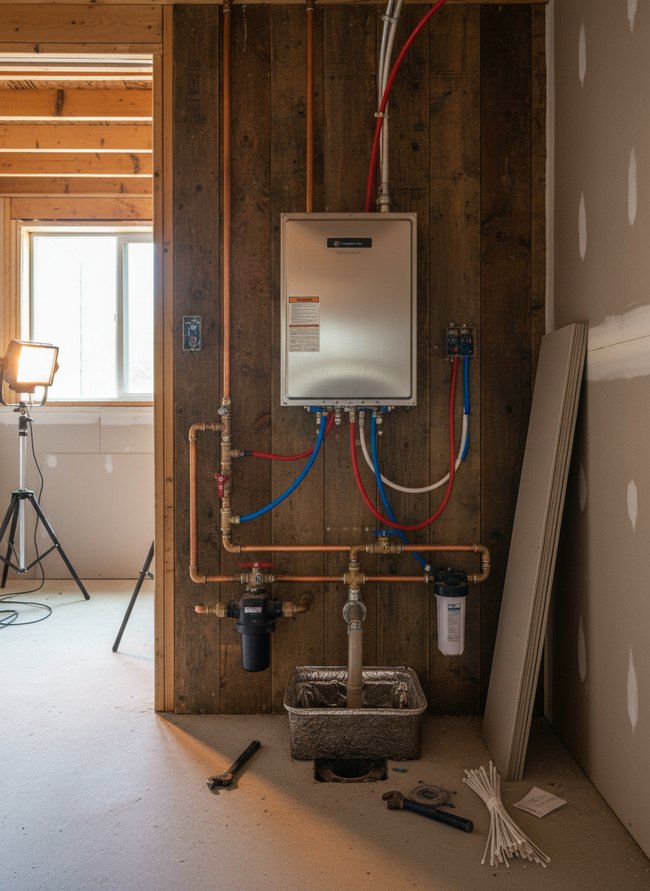
A shiny silver tankless water heater mounts against a dark wooden plank wall, offering on-demand hot water for your ADU. Copper pipes, with red and blue PEX lines, connect the compact unit to a clear water filter and a black sediment filter below. The plumbing setup provides endless hot water without a large storage tank, saving valuable floor space.
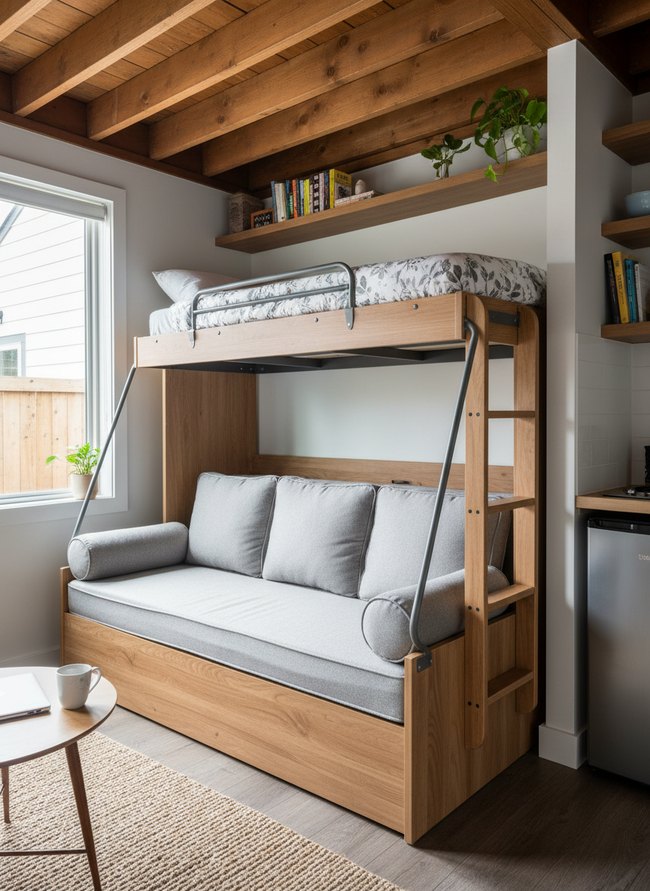
5. Space-Saving Toilet Setup
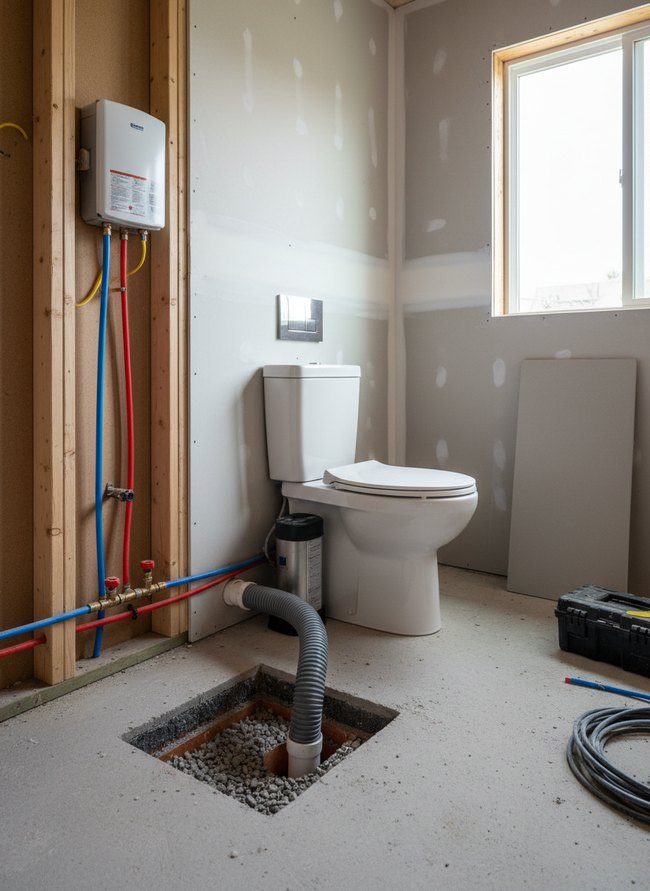
A white tankless water heater mounts on natural wooden studs, showing red and blue PEX pipes delivering hot and cold water to fixtures. The compact white toilet sits on a gray concrete floor, needing no large tank behind the bowl. The smart setup saves valuable floor space in your small bathroom.
6. Outdoor Faucet Extension
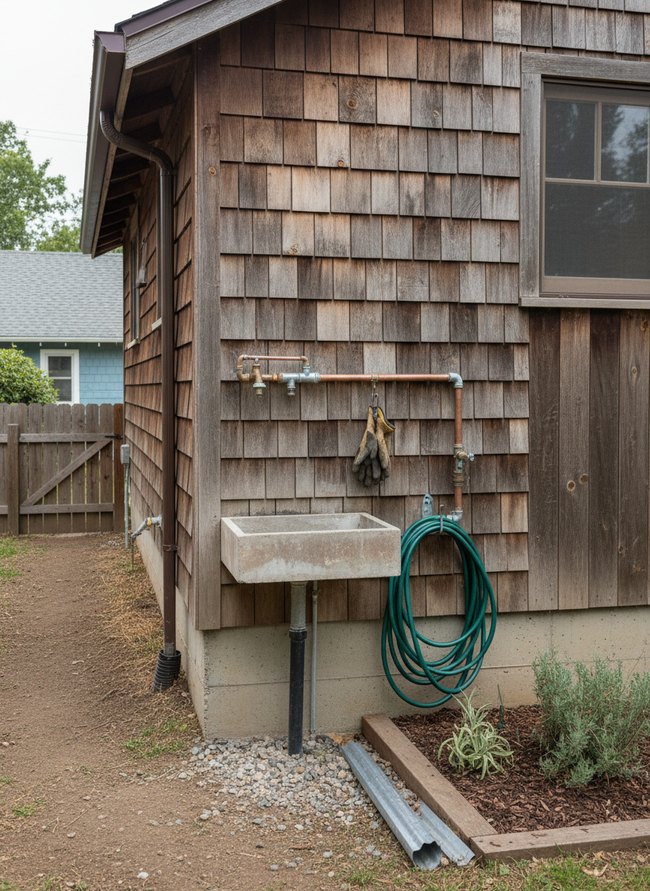
Copper pipes extend across the weathered cedar shingle wall, creating an outdoor faucet extension that brings water to your ADU. A concrete utility sink sits below, ready for dirty tasks like washing gardening tools. The simple plumbing setup provides practical outdoor access for various chores.
7. Drainage Slope Optimization
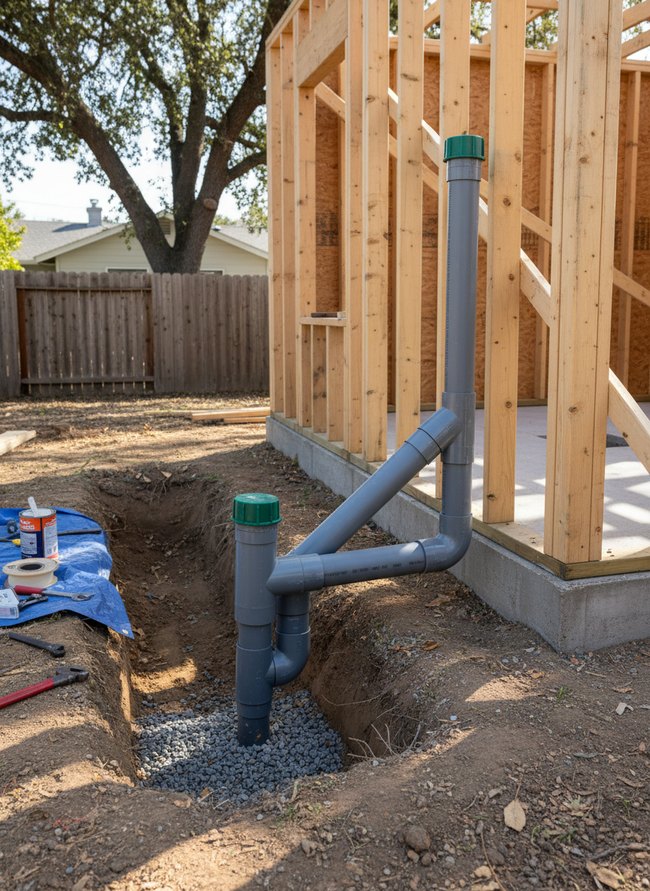
A gray PVC pipe system emerges from a freshly dug trench, showing how water will flow away from the structure. The stout vertical pipe, topped with a green cap, connects to a smaller angled pipe that disappears toward the future ADU plumbing. The pipe setup helps ensure proper drainage slope for the new building.
8. Sewer Line Tie-In
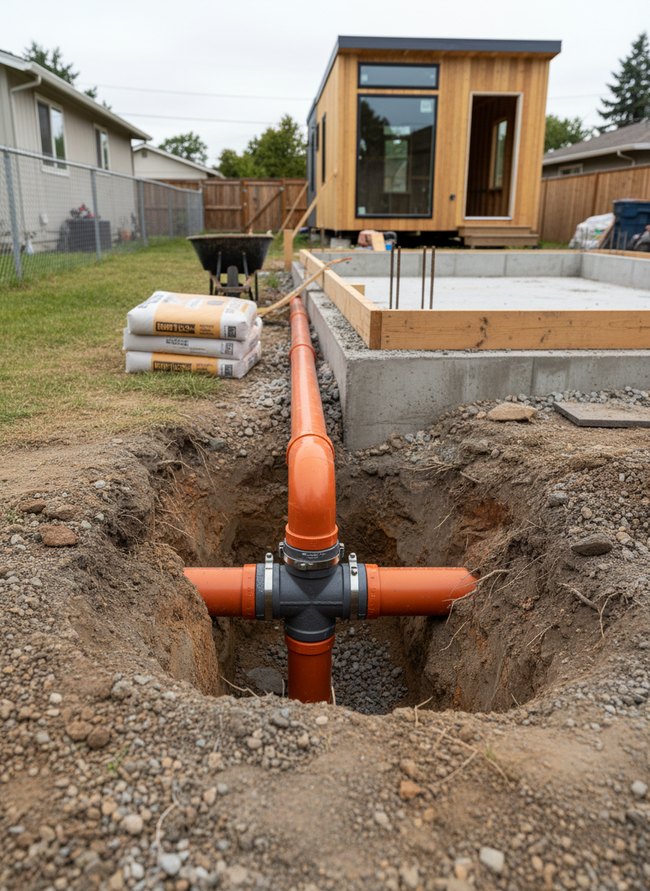
A deep trench reveals orange drain pipes for wastewater leaving your ADU. A black cross-shaped fitting joins the pipes, directing waste downward into the main sewer line. The setup effectively connects the new structure to existing sewer services.
9. Water Supply Manifold
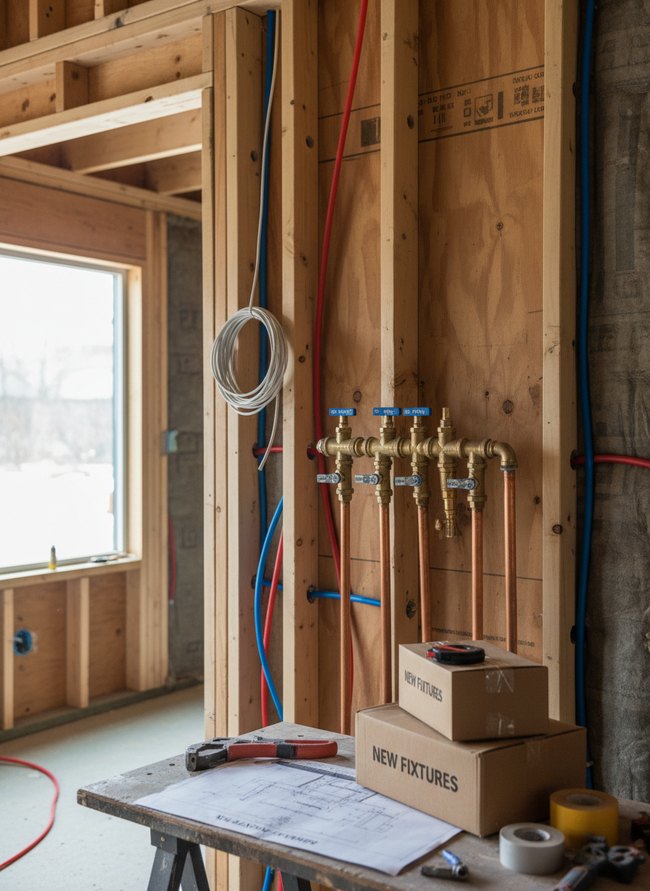
This water supply manifold brings ADU plumbing to life with thoughtful styling and considered details.
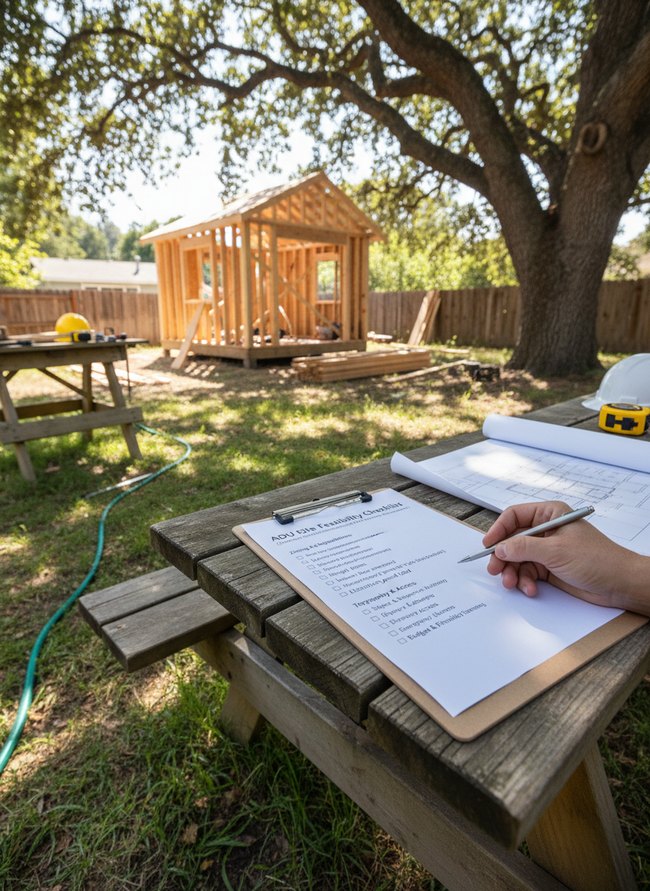
Understanding Local UPC/IPC Amendments and Your ADU Permit
…You will need to understand local plumbing code changes for your ADU permit. Different towns use either the Uniform Plumbing Code or the International Plumbing Code, and each jurisdiction adds its own rules. These individual town amendments directly shape your ADU layout, so you must check them early. A small change in vent pipe length could force a complete redesign of your new bathroom’s two-foot vanity. Many homeowners think standard residential rules apply, but this thinking leads to delays. Standard house builds often have different waste stack size needs compared to a compact accessory dwelling unit. You must specifically ask your town’s building department for the ADU-specific plumbing amendments. A copper drain line might be fine for a main house, yet your tiny backyard home needs a larger diameter PVC pipe. Ignoring these nuances causes permit rejections. Your ADU project deserves careful attention to every detail, ensuring your compact kitchen’s stainless steel sink drains correctly the first time.
The Often-Overlooked Art of Slope and Venting: Preventing Gurgles and Backups
Speaking of slopes, every drain pipe needs a precise downward angle for wastewater to move freely. A shallow slope on a long waste line causes water to sit, leaving behind greasy scum. That sticky residue builds up quickly, creating blockages in your ADU plumbing system. Too steep a pitch, however, lets water rush ahead of solids, stranding debris in the PVC pipe. Proper venting also prevents those gross gurgling sounds from your kitchen sink. Without enough air, water creates a vacuum, sucking the trap dry. A dry P-trap lets sewer gases drift into your cozy living space, a foul smell you absolutely want to avoid. Many people think one vent pipe works for all fixtures. This common misunderstanding often leads to problems in an accessory dwelling unit. Instead, consider individual vents for each fixture, or a carefully designed common vent system. Air admittance valves offer a good solution where traditional venting proves difficult, but local codes vary. You must check your specific area’s building rules for approval.
Which Idea Will You Try First?
That’s 9 different takes on adu plumbing. The best ideas above are usually the smallest moves — one material, one layout shift, one piece of furniture in the right place. Pick whichever room feels closest to your space and start there before tackling the rest.
Found an idea worth keeping? Save this post to your Pinterest board so it’s waiting for you when you’re ready to start your own project.