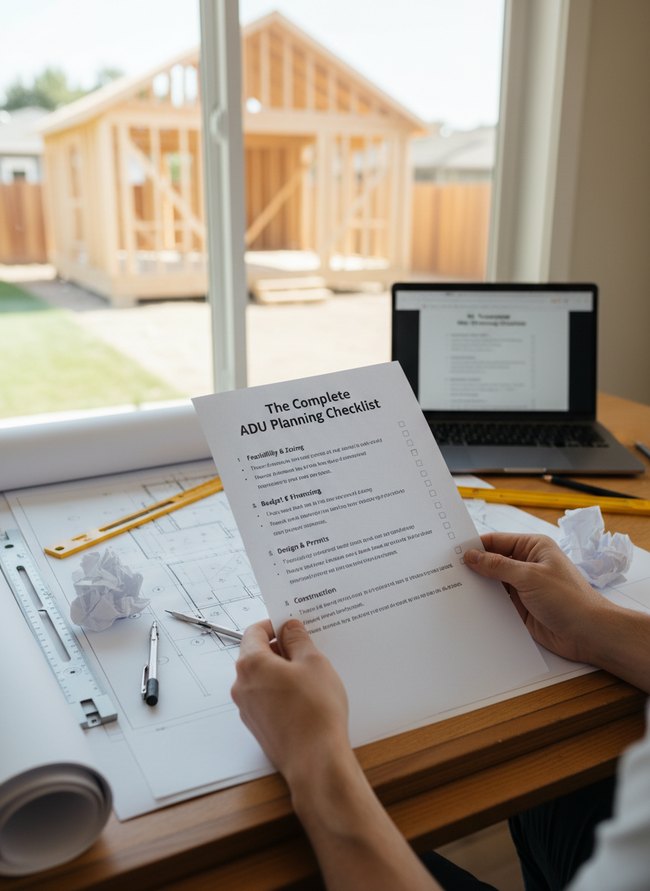
The Complete ADU Planning Checklist
Most homeowners consider accessory dwelling units a simple addition, a small second house. Zoning laws and building codes present complex, interlocking challenges. A full ADU checklist reveals every hidden pitfall. Homeowners might miss specific fire-resistant siding or the required 24-inch exterior stairway. The guide spotlights each granular detail, from foundation slab thickness to frosted window placement. We will walk through the granular steps, helping you avoid costly rework and frustrating delays during your ADU planning phase. Every numbered item offers a clear path toward a finished structure.
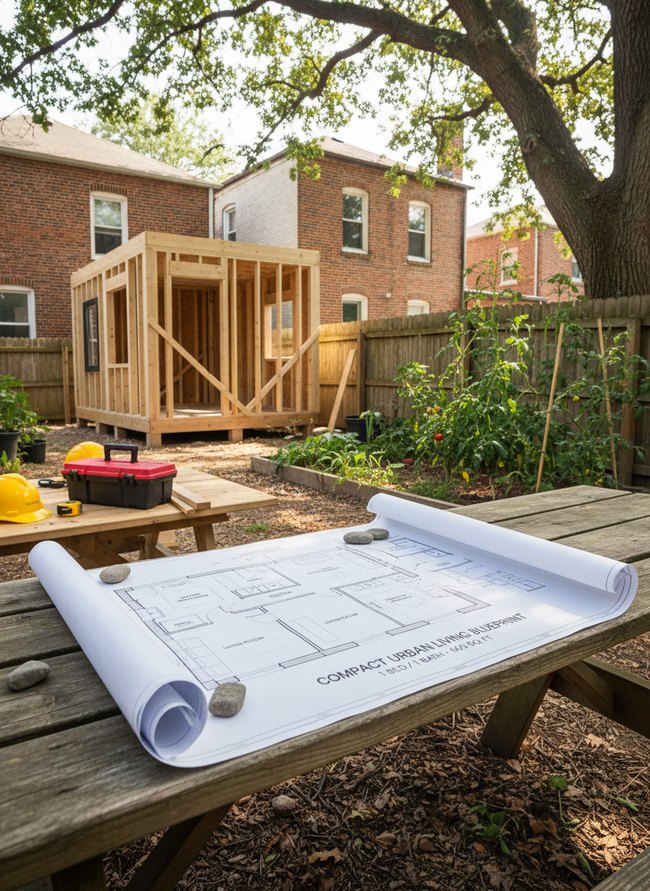
1. Site Feasibility Checklist
The ADU Site Feasibility Checklist is shown on a wooden clipboard, clearly in use. A human hand holds a silver pen, poised to mark an item on the white paper. Detailed blueprints lay beside the clipboard, ready for review. A physical checklist can guide your building project.
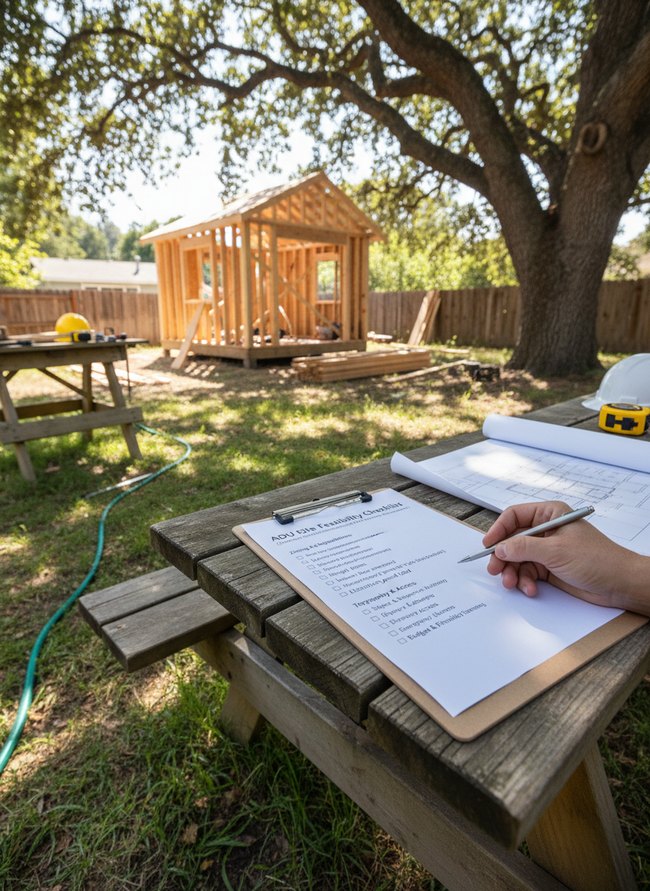
2. Permitting Requirements Checklist
The ADU planning checklist uses stark white paper and clear black text to highlight important items. The clean visual choice emphasizes the serious work involved in planning an accessory dwelling unit. A blue pen marks completed tasks, showing progress on the detailed list. A long tape measure and rolled-up blueprints sit on the rough wooden desktop. Use high-contrast text on a white background for important documents.
3. Design Considerations Checklist
A white ADU checklist sheet with black text dominates the foreground, held by two hands over a light brown wooden desk. The paper’s placement clearly shows the contents, making the list easy to read. A partially unrolled blueprint, a silver mechanical pencil, and a yellow ruler sit on the desk, suggesting planning work. A physical checklist guides your ADU project.
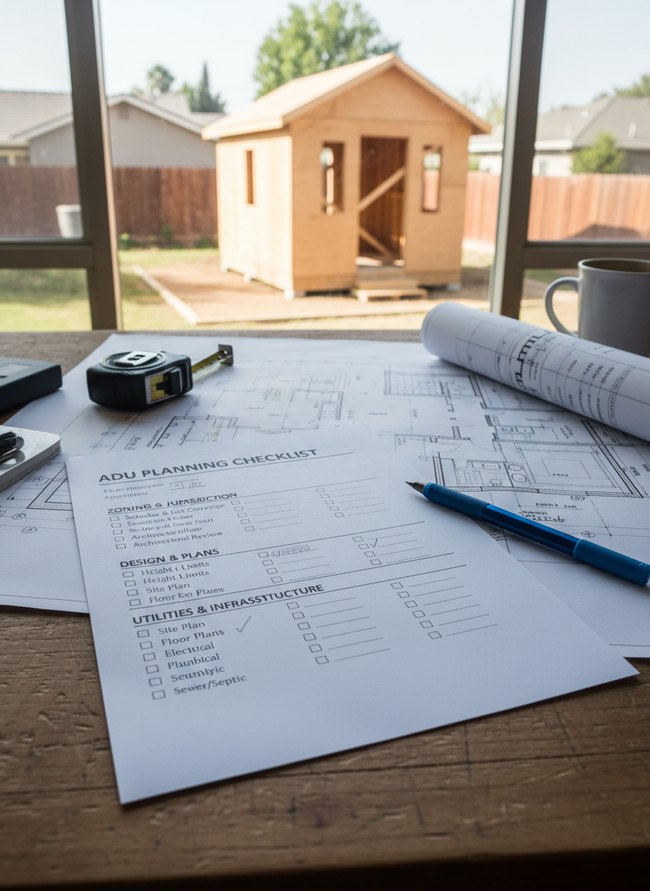
4. Budget Planning Checklist
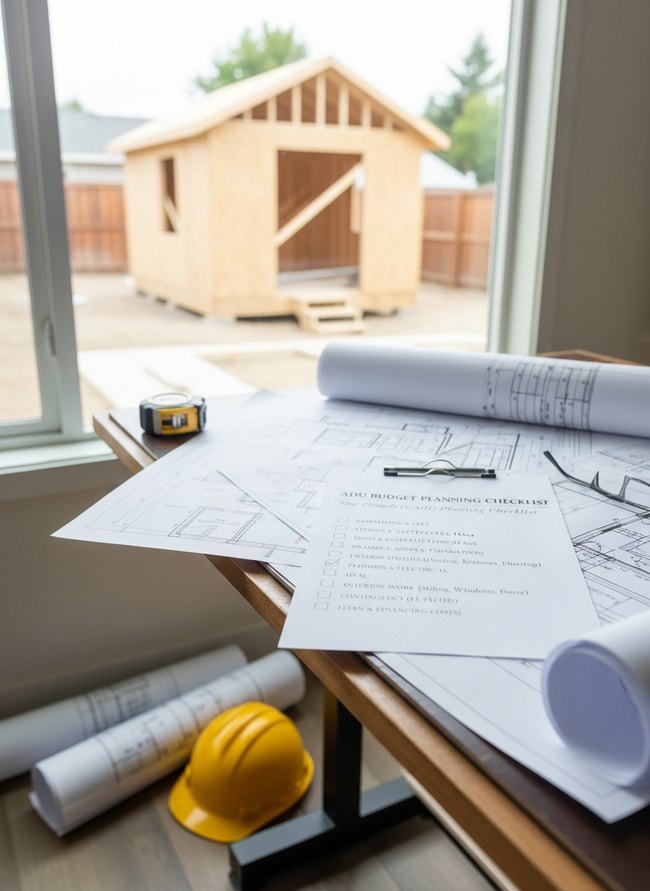
A printed ADU Budget Planning Checklist on a white clipboard establishes the planning context. A clear connection exists between the paper checklist and the small wooden structure outside the window. Rolled white blueprints and a yellow hard hat reinforce the construction theme. Outlining your budget early is important.
5. Financing Options Checklist
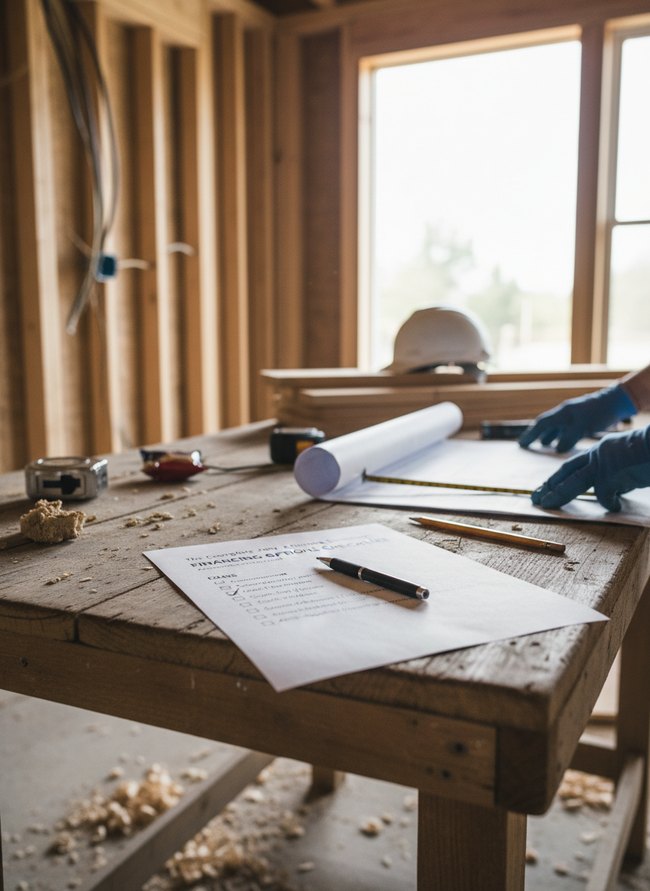
A white paper sheet showing a “Financing Options Checklist” rests on a rough wood workbench, offering a tangible planning tool. The placement within an active construction site creates an immediate, practical context for the ADU checklist. A dark ink pen lies ready on the checklist paper, suggesting action and progress. Show your checklist in its real-world application.
6. Contractor Vetting Checklist
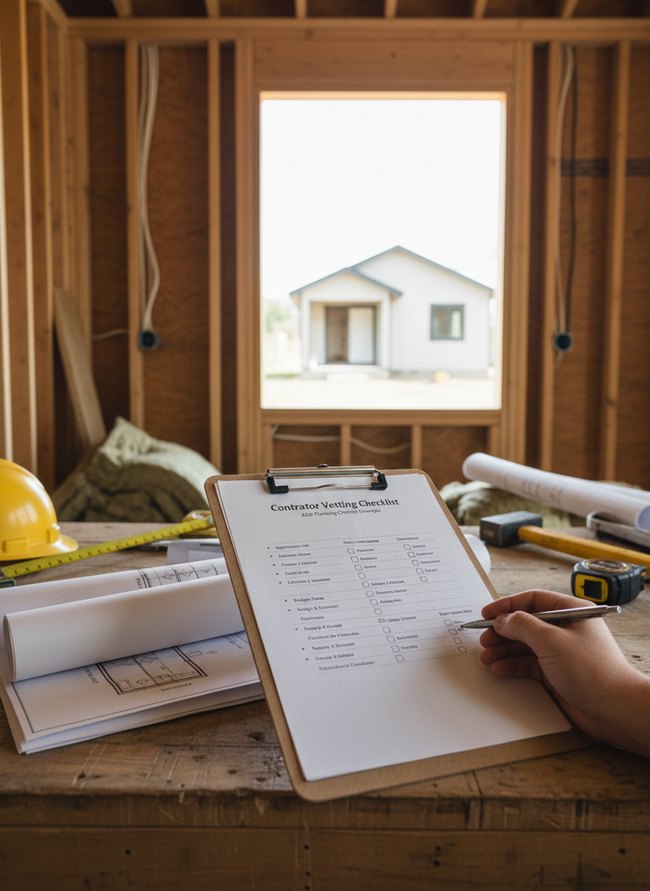
A clipboard holds a “Contractor Vetting Checklist” against a warm wooden construction table. The visual arrangement clearly presents the ADU checklist in an active, real-world setting. A metal pen marks a white checkbox, with a yellow hard hat and rolled blueprints in the background. The checklist appears ready for immediate use.
7. Construction Phase Checklist
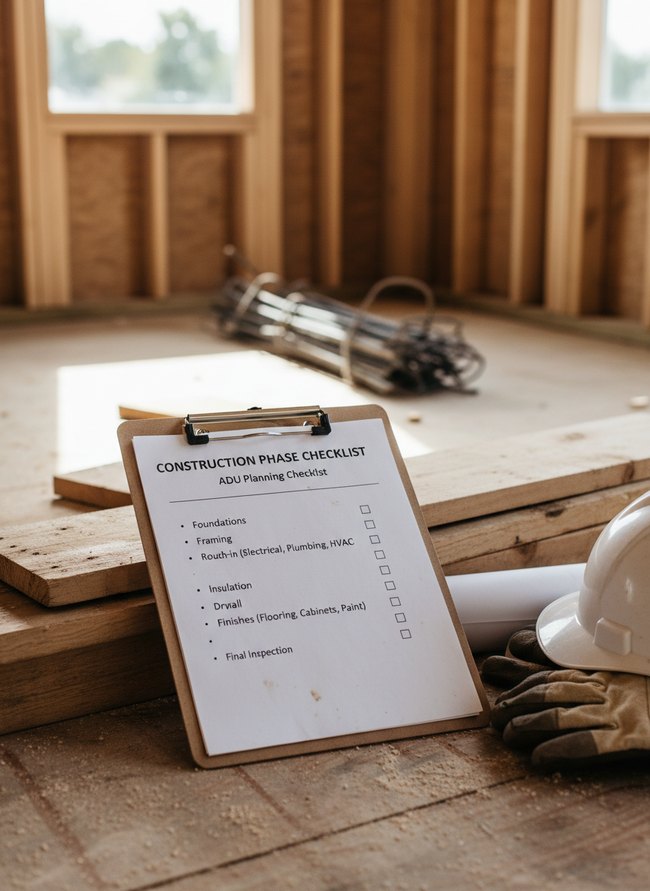
A clipboard with a white paper ADU checklist lies front and center on a wooden subfloor. The direct presentation immediately shows the practical application of the checklist. Behind the clipboard, rough lumber and a white hard hat suggest a busy construction site, giving the list real-world context. Steal the clear, concise list format for your own planning.
8. Utility Connection Checklist
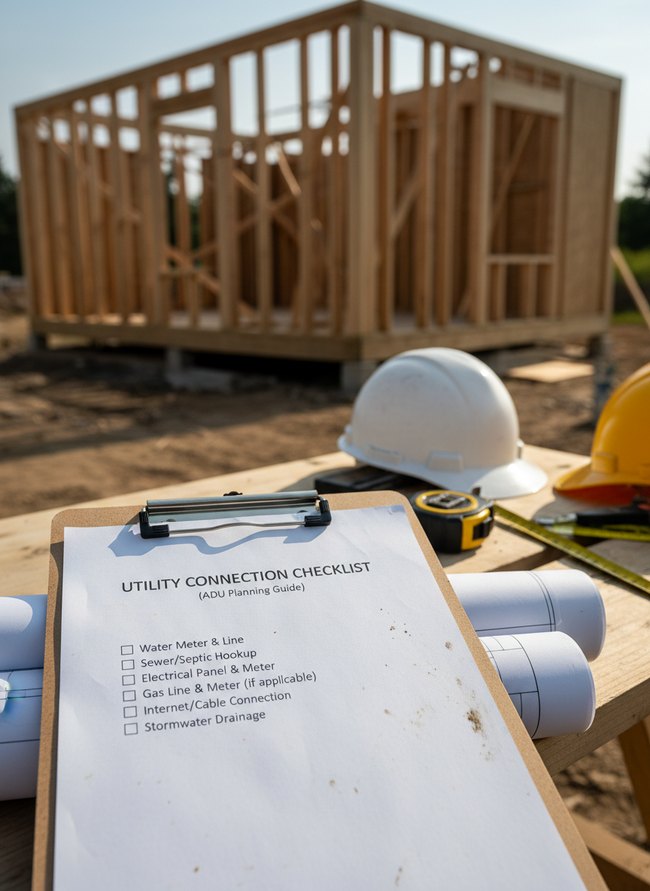
A brown clipboard holding a white paper checklist clearly presents information. The visual immediately tells readers the ADU checklist offers practical steps for utility connections. A blurred wooden frame structure in the background suggests a construction site. Readers can steal this idea: show your ADU checklist in its real-world context for instant relevance.
9. Inspection Readiness Checklist
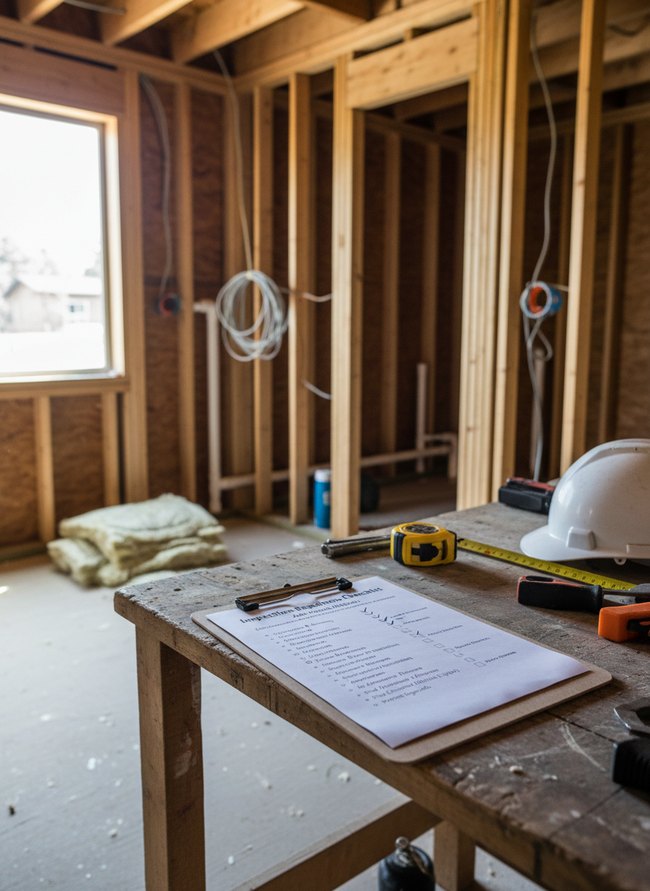
A clipboard holding a white ADU checklist sheet on a rough wooden table immediately catches the eye. The placement makes the physical checklist feel like an active, working document within a real construction setting, showing its immediate usefulness. A white hard hat and yellow measuring tape sit nearby on the rustic surface, reinforcing the practical, hands-on nature of the tool. The image effectively grounds the checklist in an actual building site, making its value clear. Steal the move of showing the product in its natural, working environment.
10. Rental Strategy Checklist

A printed ADU checklist sits on the rough wooden tabletop, showing a clear path to organizing your building project. The simple form helps you track many details for your ADU, making a big task feel manageable. A yellow hard hat rests on a three-legged stool nearby, suggesting real work is happening. A physical checklist keeps your ADU project on track.
11. Maintenance Schedule Checklist
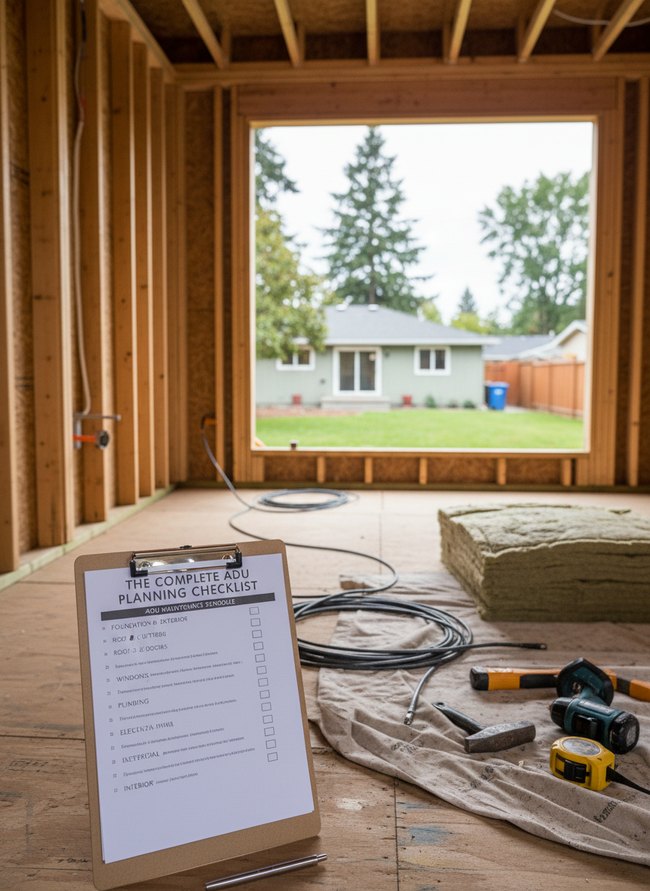
An unfinished wooden frame clearly shows the ADU checklist’s purpose. The specific list provides a maintenance schedule for your new build. A brown clipboard holds the white paper document steady on the light plywood floorboards. Display your product in its real-world setting.
12. Post-Construction Checklist
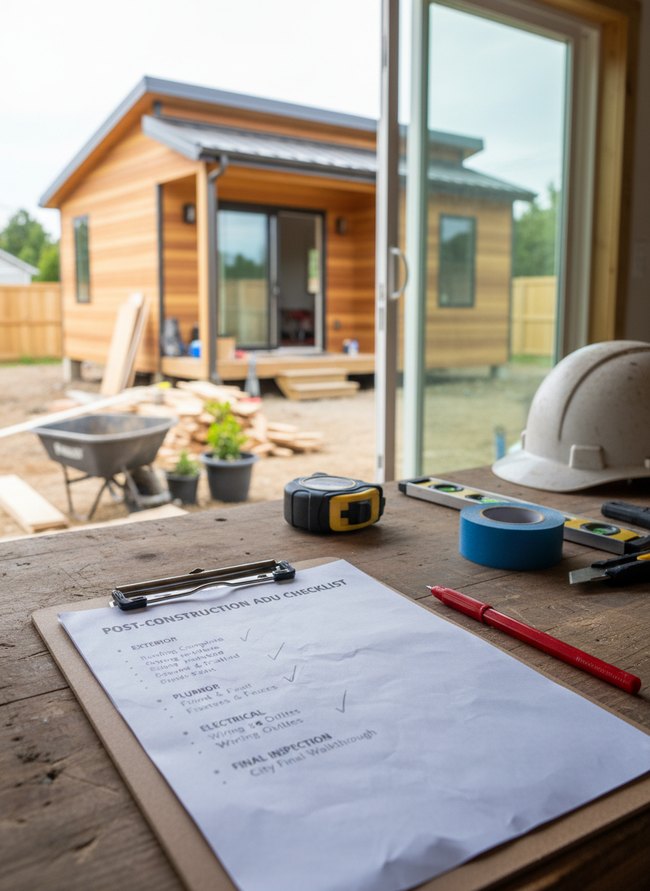
The image uses a real-world setting to show the ADU checklist in action. The approach directly connects the checklist to its practical application, making the paper feel tangible and useful. A white hard hat and a blue roll of tape sit nearby, reinforcing the construction context. A red pen rests on the wooden desk, ready for marking off completed items on the paper. Show your product used in its natural environment.
Permitting Pre-computation: Leveraging Jurisdictional Precedent for Expedited ADU Approvals
Pre-computation of permitting requirements speeds up your ADU approvals. Smart homeowners research past approvals. Local building departments often publish case studies. You can find actual blueprints and site plans for approved accessory dwelling units. A dark, slate-grey concrete foundation requires specific drainage calculations. Checking these records helps you understand what designs actually pass. Many people start designing a white oak kitchen island before confirming local height limits. This premature design work often wastes time. Instead, find a previously approved ADU design with a similar footprint. Then, adapt that successful plan to your own needs. A simple metal roof can change how drainage runoff is calculated. This method bypasses common stumbling blocks. Your project moves through the system faster. Understanding jurisdictional precedent saves you months.
Site-Specific Utilities Integration: Optimizing Cost-Benefit Ratios for Service Extensions
Long copper pipe runs for utility extensions directly affect your ADU budget. Shorter connections mean fewer materials and less labor for your accessory dwelling unit. Consider the existing electrical panel on your main house. Running new wiring across a wide, green lawn adds significant cost compared to tapping into lines closer to the property boundary. Placing a compact ADU closer to your main dwelling often reduces trenching for sewer lines. A trench measuring fifty feet needs more heavy equipment time than one just ten feet long. You can save thousands of dollars by strategically positioning your new structure. Imagine a backyard shed located at the far corner of a large lot. Extending water pipes and power cables to that distant shed becomes surprisingly expensive. A concrete foundation poured directly behind the main house, however, simplifies all utility connections. Think about the honey-toned wood siding of the ADU itself. Its final placement on your land has a tangible dollar impact. Your overall ADU planning checklist should prioritize minimizing those lengthy utility paths.
Which Idea Will You Try First?
That’s 12 different takes on adu checklist. The best ideas above are usually the smallest moves — one material, one layout shift, one piece of furniture in the right place. Pick whichever room feels closest to your space and start there before tackling the rest.
Found an idea worth keeping? Save this post to your Pinterest board so it’s waiting for you when you’re ready to start your own project.