How to Decorate Tiny Home Walls Without Damaging Them
Getting a security deposit back can feel like a high-stakes game. Landlords expect crisp white tiny home walls to stay untouched, often with a strict no-nails policy written in black ink. Hanging a concert poster or a framed family photo usually means risking a chunk of cash. Conventional methods like drilling into drywall leave behind obvious holes and require putty work before moving out. Decorating a compact living space takes smart choices, especially when permanent changes are not an option. Command strips, washi tape, removable wallpaper, and leaning art offer damage-free solutions for renters. The simple tricks help transform a blank canvas into a personalized retreat. Adding character to a small residence doesn’t have to be a headache.
1. Adhesive Strip Gallery Wall
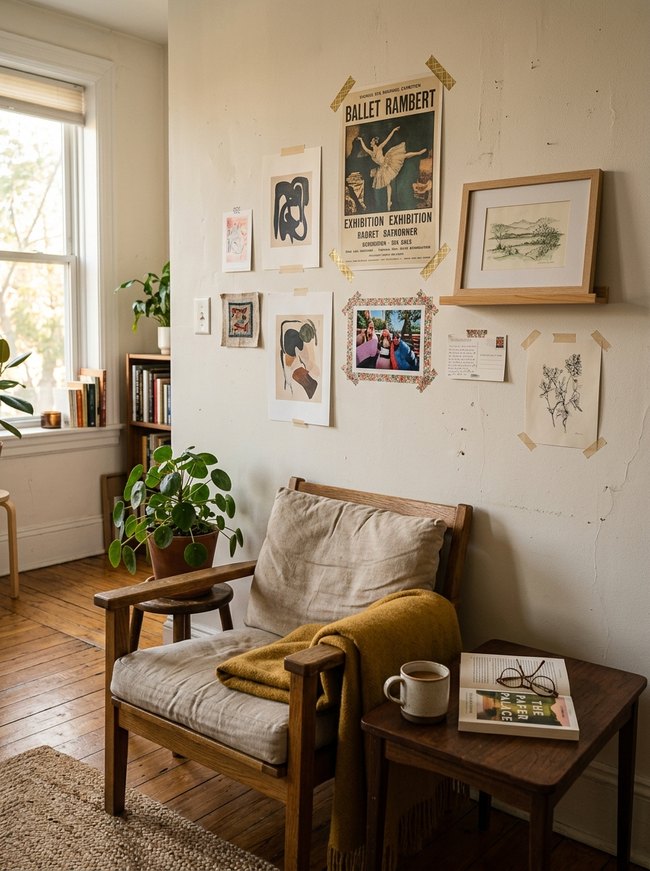
Washi tape secures a collection of diverse art prints and small photos to the light beige wall. Arrange chosen pieces on the floor first to plan the gallery wall layout. Avoid using permanent tape on tiny home walls to prevent paint damage.
2. Washi Tape Geometric Accent
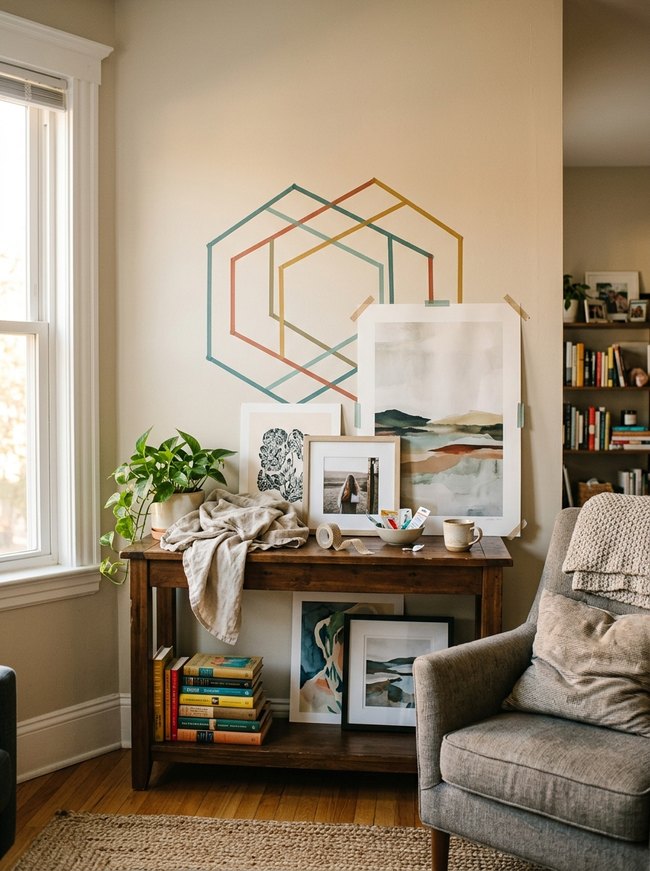
Washi tape creates a simple, colorful geometric design on the light beige wall, forming a modern accent without permanent marks. Colorful narrow tape adheres directly onto tiny home walls to make cool shapes. Tapes with different colors, like the teal, orange, and golden yellow lines shown, add visual interest. Press the tape firmly onto the wall for a clean, straight line.
3. Peel Stick Mural Scene
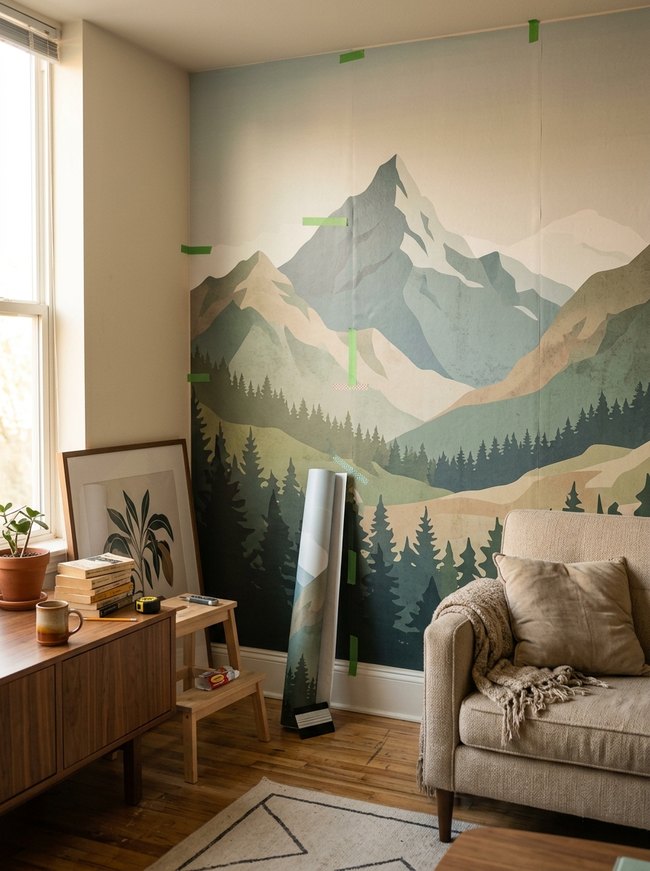
Removable peel-and-stick wallpaper offers a dramatic mountain mural, transforming bland white walls into a sweeping forest landscape. Large panels apply easily with temporary green tape, carefully aligning each section across the wall surface. For best results, always measure the wall space twice before ordering any decorative paper.
4. Leaning Floor Frame Display
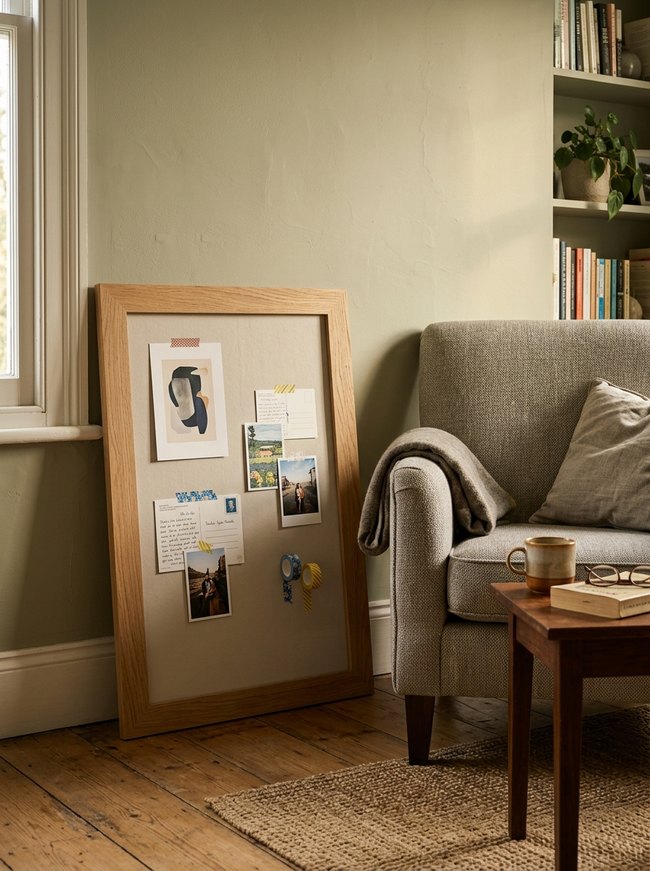
A large, light oak frame leans against the soft green wall, holding various postcards and photos with colorful washi tape. Homeowners can create a flexible display without putting holes in tiny home walls by simply propping a sturdy frame against a flat surface. Position the leaning art where it won’t get bumped by foot traffic.
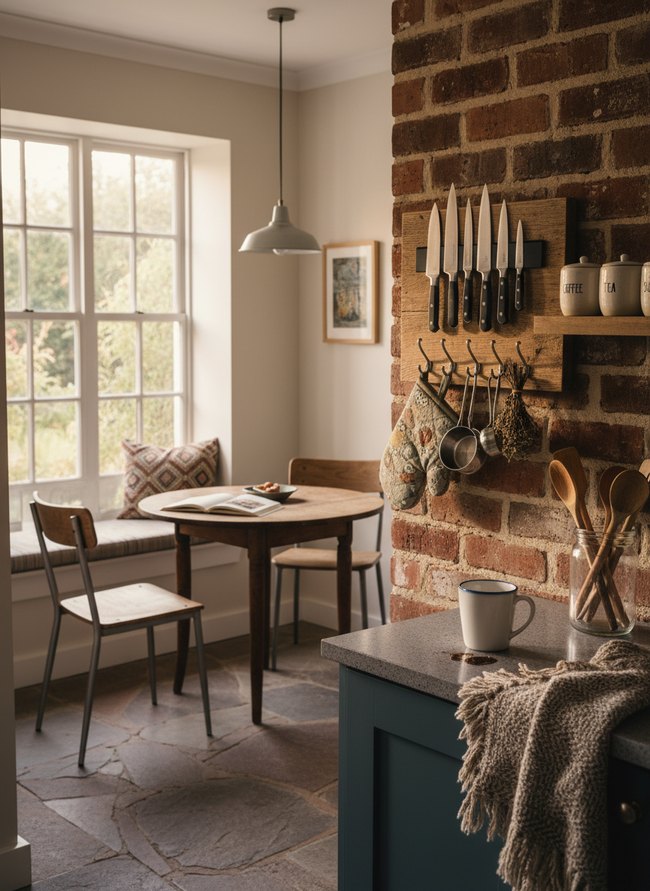
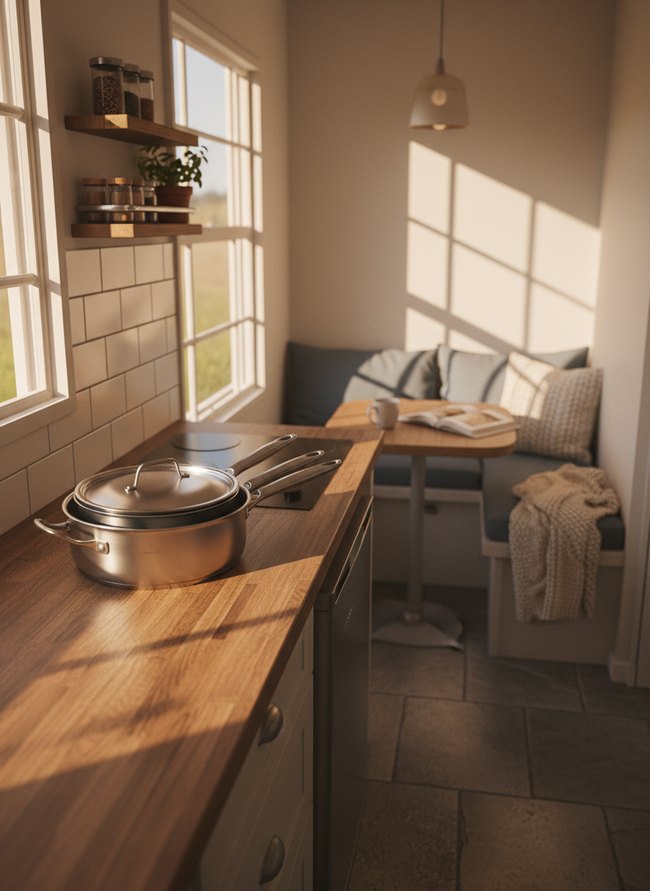
5. Command Hook Utensil Rack
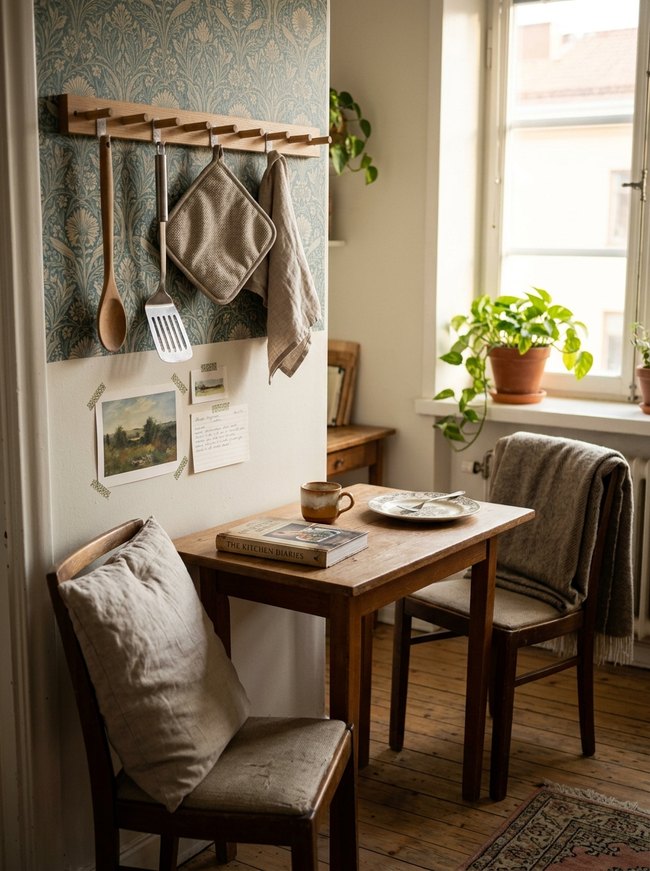
A long wooden peg rail offers storage for kitchen tools without drilling into tiny home walls. Homeowners can attach a similar oak rack using strong Command Strips, carefully following package directions for weight limits. Mount light items like wooden spoons or oven mitts to avoid damage.
6. Fabric Panel Wall Hanging
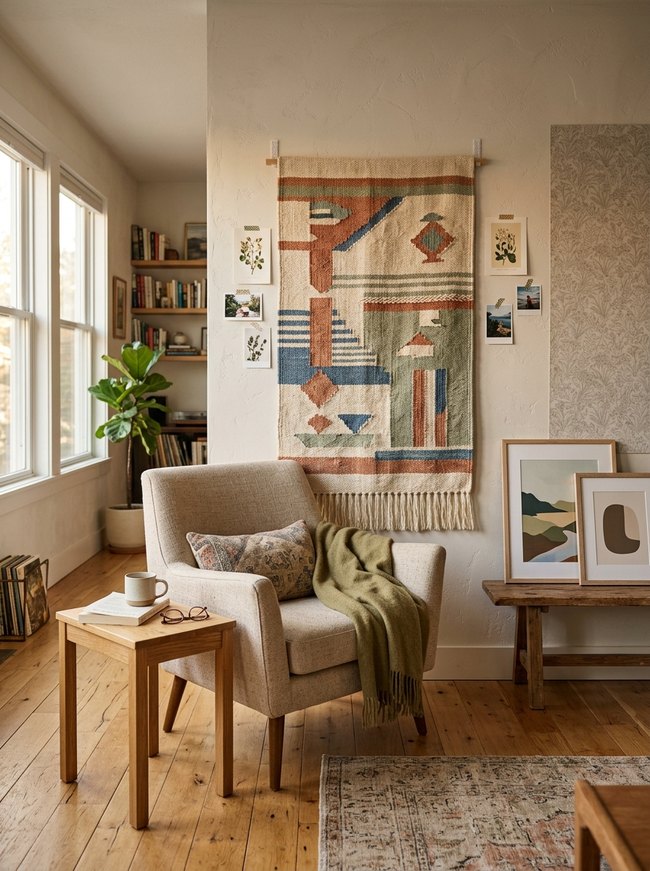
The woven fabric panel, featuring earthy green, terracotta, and blue shapes, hangs from a wooden dowel with small white clips. Homeowners easily attach the lightweight wall hangings to tiny home walls using removable command strips. A natural fiber piece adds warmth and soft texture without causing damage.
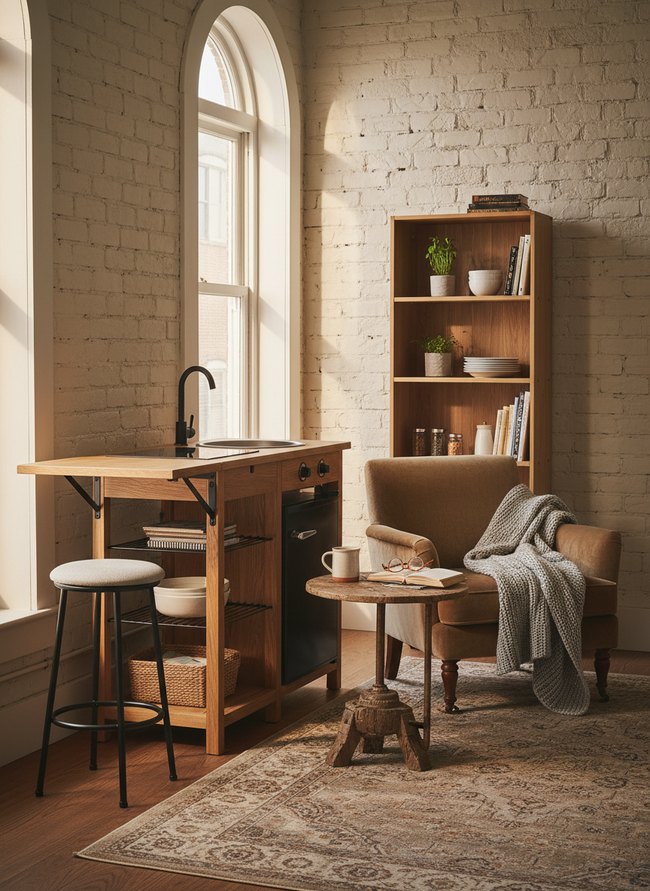
7. Floating Shelf Corner Mount
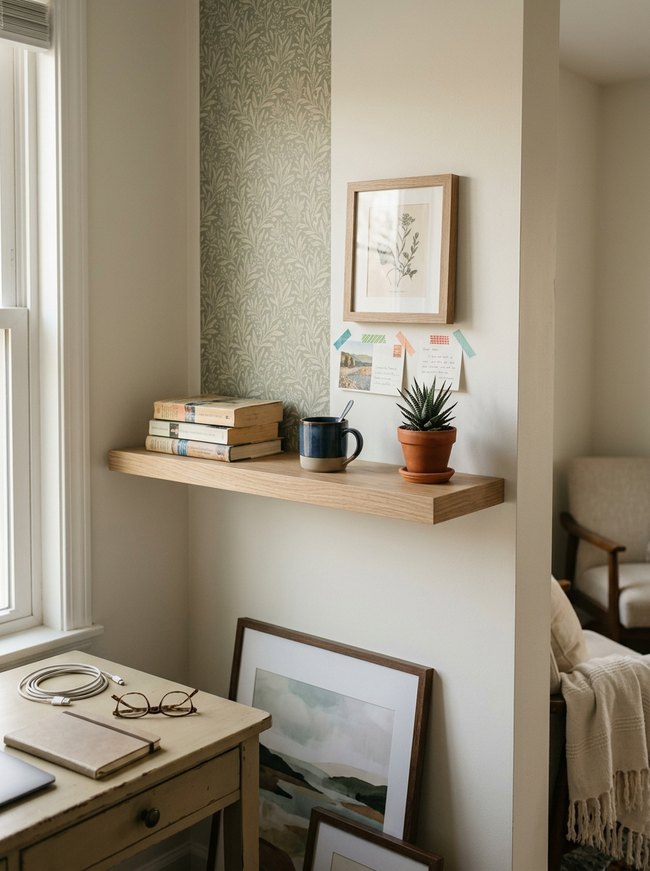
A light oak floating shelf fits neatly into the corner, offering a clever spot for books and a small plant. Homeowners can mount the shelves using strong adhesive strips designed for tiny home walls, creating extra storage without drilling holes. Remember to check the weight limit of your chosen adhesive before placing heavier items on the shelf.
8. Lightweight Art Print Trio
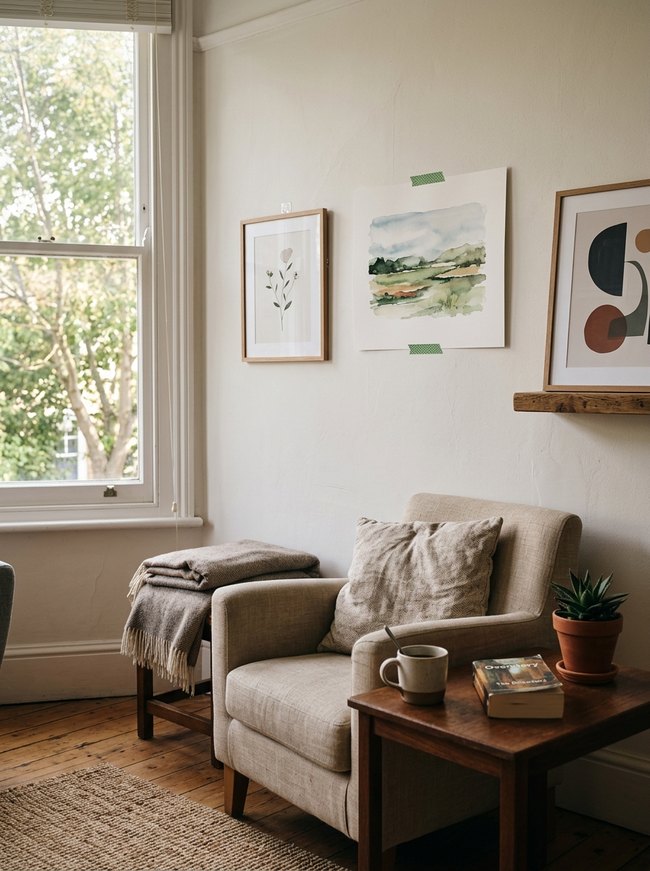
Washi tape secures the large watercolor landscape print directly to the pale wall, offering a simple way to display art without damage. Command strips hold the two framed pictures, allowing lightweight art prints to hang easily. Avoid heavy frames or art pieces when using temporary hanging solutions on tiny home walls.
9. Removable Decal Starburst
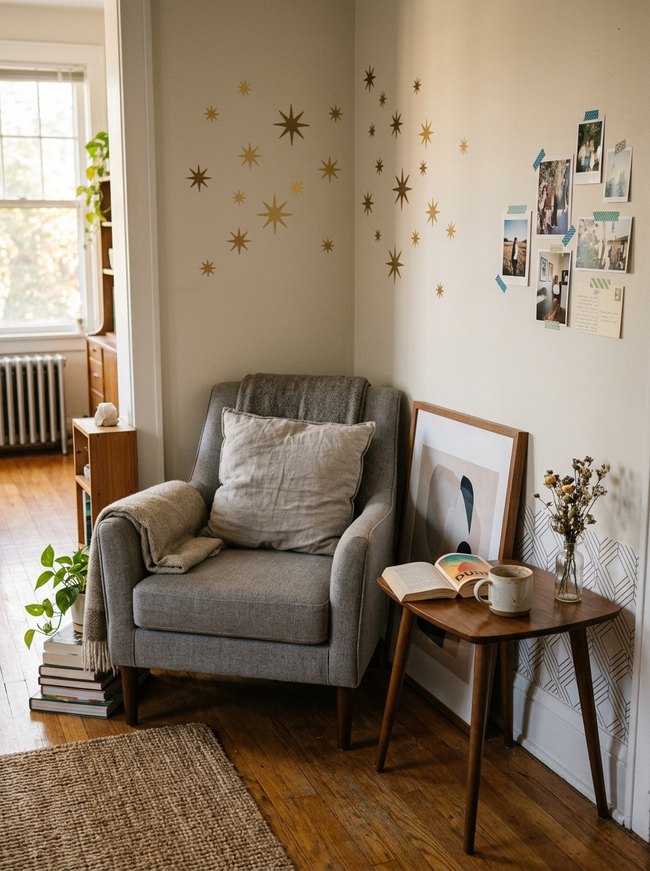
Golden starburst decals shine brightly across the off-white wall, adding a playful celestial touch. Each individual sticker peels off and presses onto the wall to create a custom star pattern. Avoid placing the decals over textured surfaces to ensure proper adhesion.
10. Magnetic Spice Rack Setup
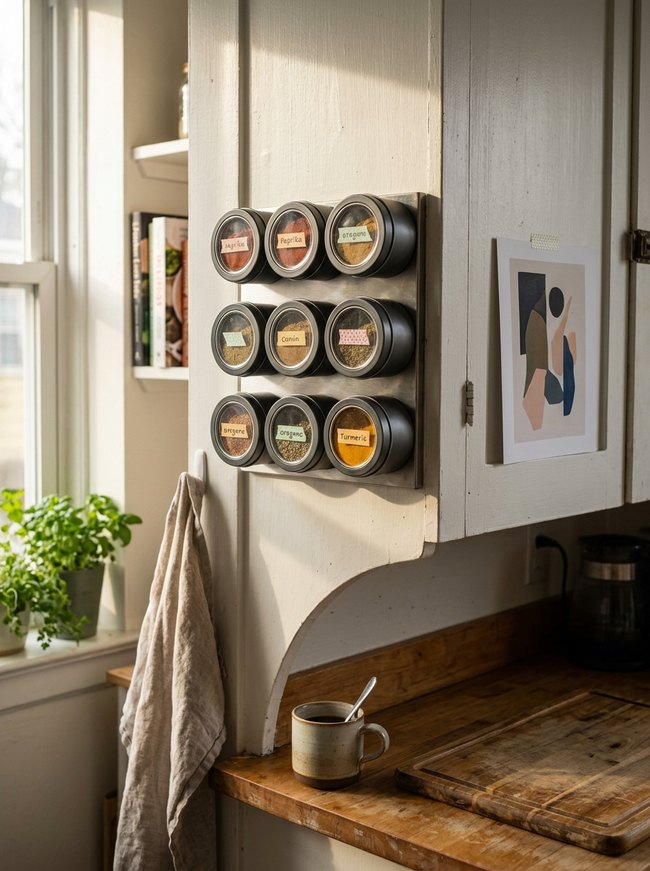
A magnetic spice rack holds nine round, dark metal tins on a light cream wall, keeping the kitchen organized. A metal plate attaches to any wall surface using strong adhesive strips for a damage-free setup. Avoid placing the rack over heat sources like stoves, which can lessen the adhesive’s grip.
11. Clip-On Photo Garland
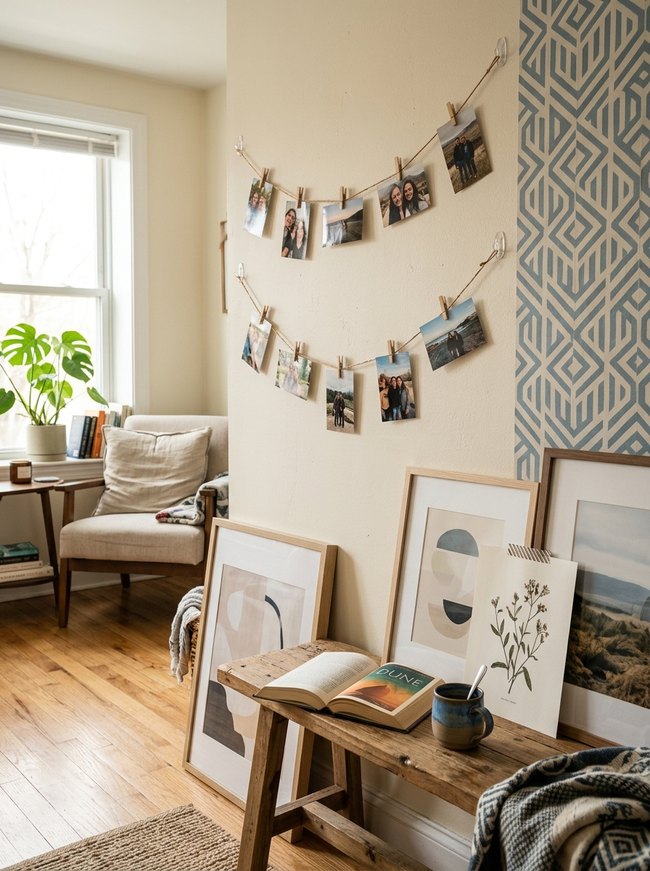
Clear adhesive hooks hold two rows of twine strung with small wooden clothespins displaying personal photos. Homeowners can easily create a similar photo garland by attaching the hooks to a wall and hanging twine between them. Avoid using heavy frames or items that could pull the temporary adhesive hooks from the surface.
12. Pegboard Craft Station
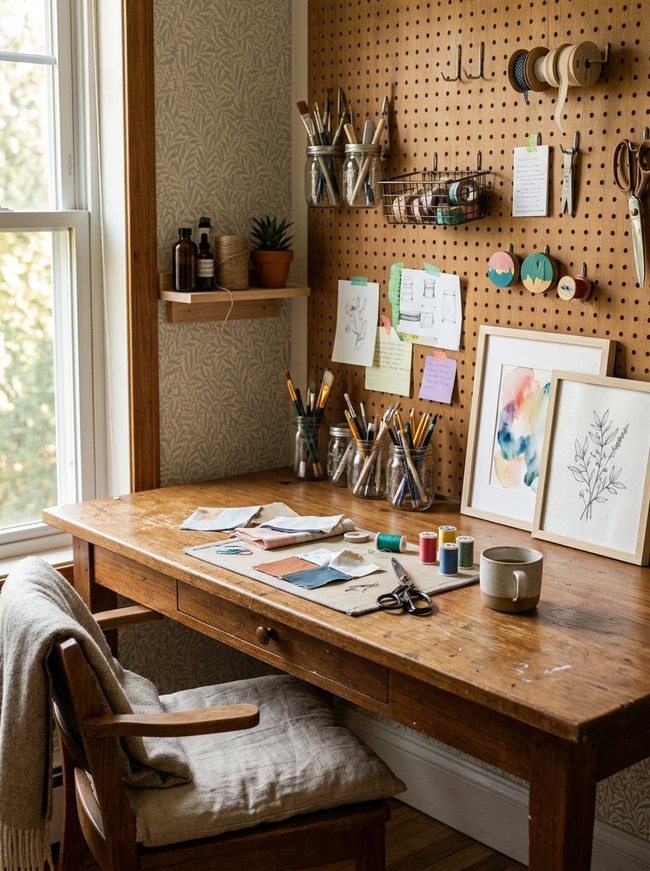
A warm brown pegboard wall provides flexible storage for art supplies and tools. A wide variety of hooks and shelves attach to the pegboard to hold paint brushes, spools of colorful thread, and small potted plants. The pegboard allows organization of a craft station without putting holes in tiny home walls.
Can Command Strips Really Hold That? (And How to Tell Before It Falls)
Many people assume a command strip’s stated weight limit means it can hold any item up to that number of pounds. Most crafters stick one small picture hanging strip to the back of a three-pound wooden photo frame and call it good. That thin wire on the back of your gold-leaf mirror actually pulls downward at a single point, focusing all the stress onto a small adhesive patch. Always read the tiny print on the back of the command strips packaging for specifics.
You must remember the listed weight describes how much the entire pack of strips holds, not just one. A single white picture hanging strip, for example, typically supports only one pound of weight. You will need four of those small white command strips to securely hang a five-pound framed botanical print. Consider the actual hanging mechanism of your wall decor. A sawtooth hanger on a three-pound oak cutting board creates a concentrated downward force. Command strips work best when the weight spreads evenly across multiple strips, like with a flat-backed cork board. Always overestimate your item’s weight for safety. If your ornate wall clock feels like six pounds, plan for eight. That extra buffer prevents unexpected crashes of your prized possessions to the hardwood floor.
Peeling Removable Wallpaper Without Peeling Your Paint: The Right Way to Remove It
Most people yank peel-and-stick wallpaper straight off the wall, but this rips paint right along with it. Instead, warm the vinyl surface with a common hairdryer set to low heat. This gentle warmth softens the adhesive backing on the patterned paper, making it pliable. Position the hairdryer about six inches from the dusty teal wallpaper, moving it in slow circles for about thirty seconds. Then, start at a top corner of the wall covering. Slowly peel the wallpaper downward at a sharp, forty-five-degree angle. You want the adhesive to stretch, not tear.
Many decorators leave temporary wallpaper up for years, risking permanent damage to their painted gypsum walls. Experts suggest removing peel-and-stick designs every twelve to eighteen months. This regular refresh prevents the adhesive from hardening too much against your flat wall paint. If you find sticky residue on the white wall after removal, wipe it gently with a soft cloth dampened with rubbing alcohol. Alcohol breaks down the sticky film without harming most latex paints. Avoid harsh chemical cleaners, as those often strip the paint or leave a discolored spot.
Which Idea Will You Try First?
That’s 12 different takes on tiny home walls. The best ideas above are usually the smallest moves — one material, one layout shift, one piece of furniture in the right place. Pick whichever room feels closest to your space and start there before tackling the rest.
Found an idea worth keeping? Save this post to your Pinterest board so it’s waiting for you when you’re ready to start your own project.