How to Plan a Tiny Home Kitchen Layout (Beginner’s Guide)
Light birch countertops often dictate the entire tiny kitchen layout. Many sources suggest a central cooking zone, but that approach wastes precious linear space. A single row of brushed chrome appliances, against one long wall, offers superior workflow for compact living. Aligning appliances gains valuable floor space. The practical methods for configuring your cooking area will simplify your daily routine. Small kitchen design, when approached strategically, prioritizes flow and function over decorative elements. Honey-toned wooden cabinets, stretching from floor to ceiling, can hold more provisions than you expect. The entries below will demonstrate smarter arrangement patterns.
1. Efficient Galley Kitchen Blueprint
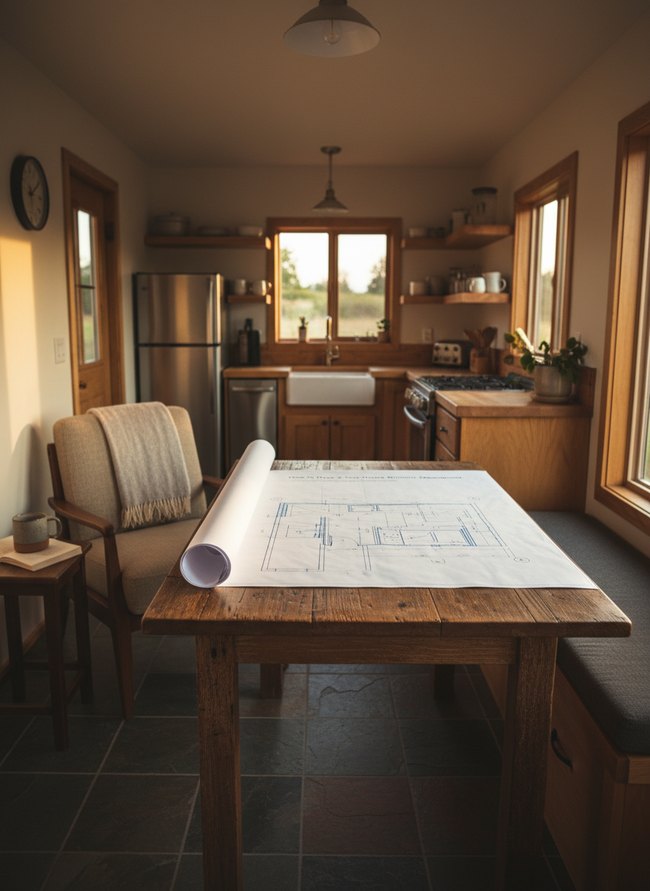
A long, straight counter with appliances along one wall creates a clear galley kitchen path. The layout works well in a narrow room, leaving floor space open for movement. Light wooden cabinets and a white farmhouse sink brighten the compact area. A stainless steel refrigerator and stove fit snugly within the continuous countertop. The single-wall kitchen plan offers tiny kitchen layout efficiency.
2. Compact U-Shape Design
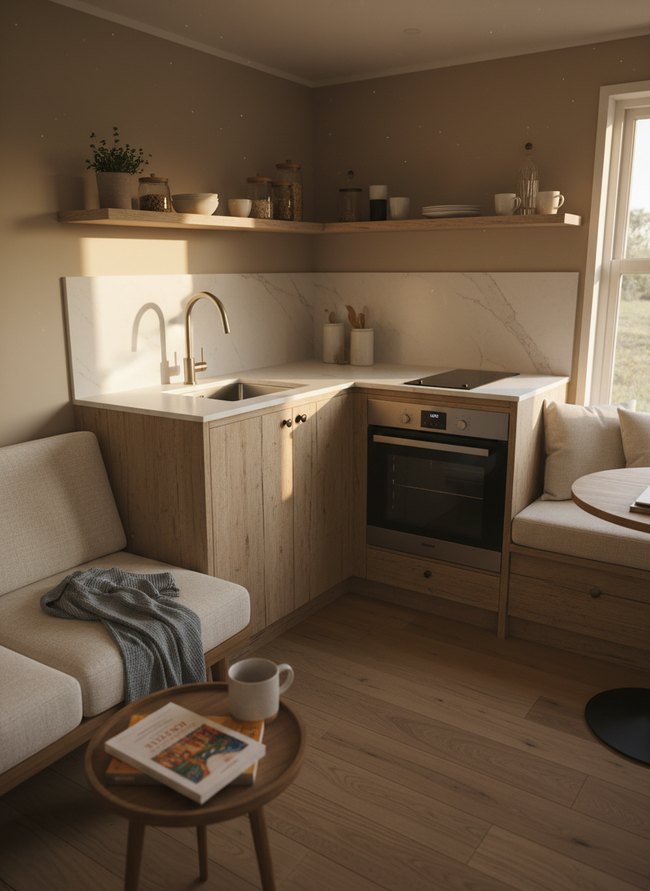
The U-shape layout combines kitchen functions with living area seating, making a small room feel larger. White marble countertops provide ample workspace and contrast with light wood cabinets. A built-in oven and cooktop fit neatly into the corner, leaving the counter clear. Combining functions improves the tiny kitchen’s layout efficiency.
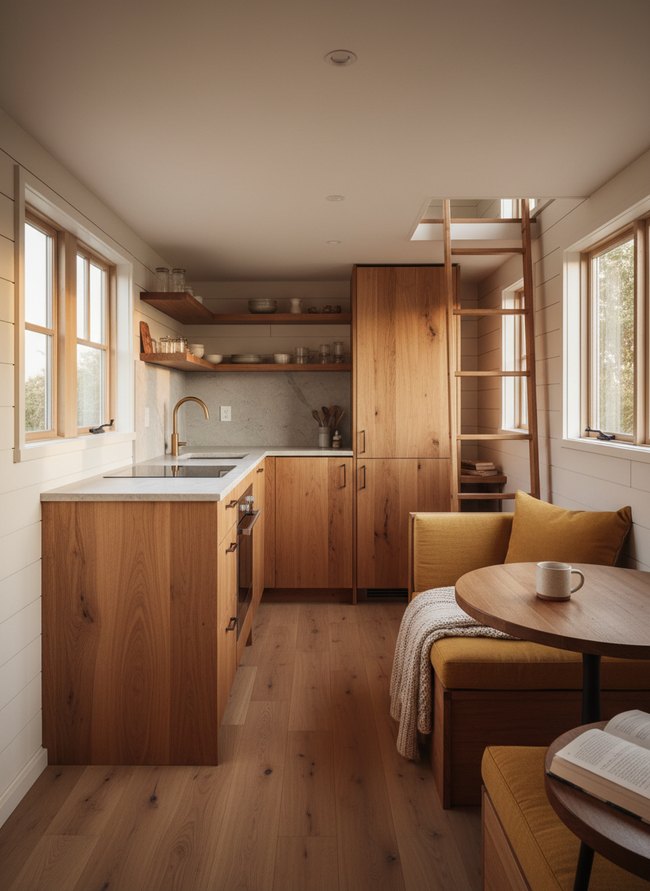
3. Space-Saving L-Shaped Plan
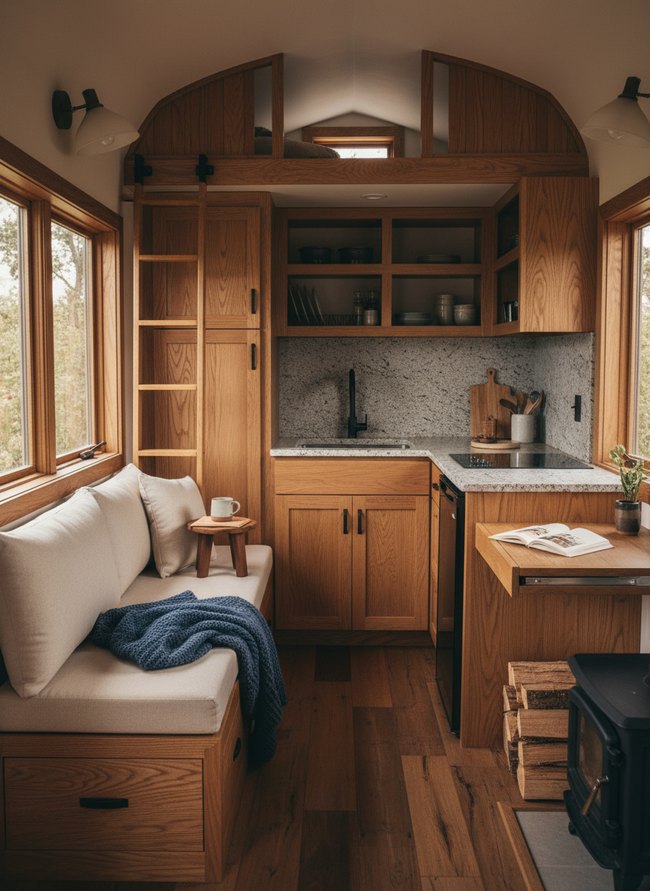
The designer integrates the L-shaped kitchen counter with the built-in bench seating, creating a continuous flow of warm oak cabinetry. The smart layout maximizes floor space by combining two functions into one cohesive unit. A small black sink and two-burner cooktop fit neatly into the speckled gray countertop, providing essential cooking functions. The fold-down wooden table extends the usable counter space, providing a versatile surface for meals or work. Link kitchen counters directly to seating areas.
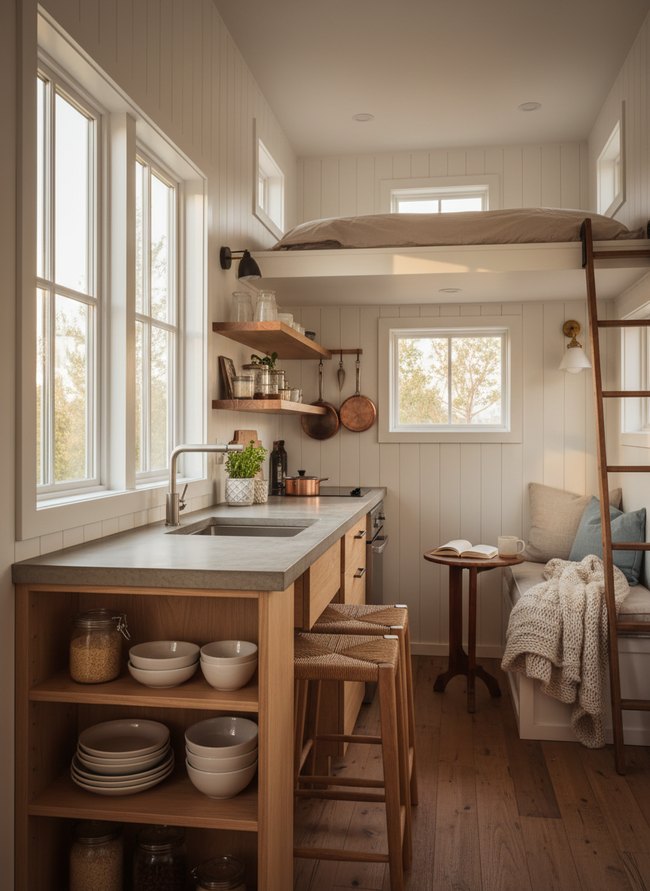
4. Integrated Island Counter Layout
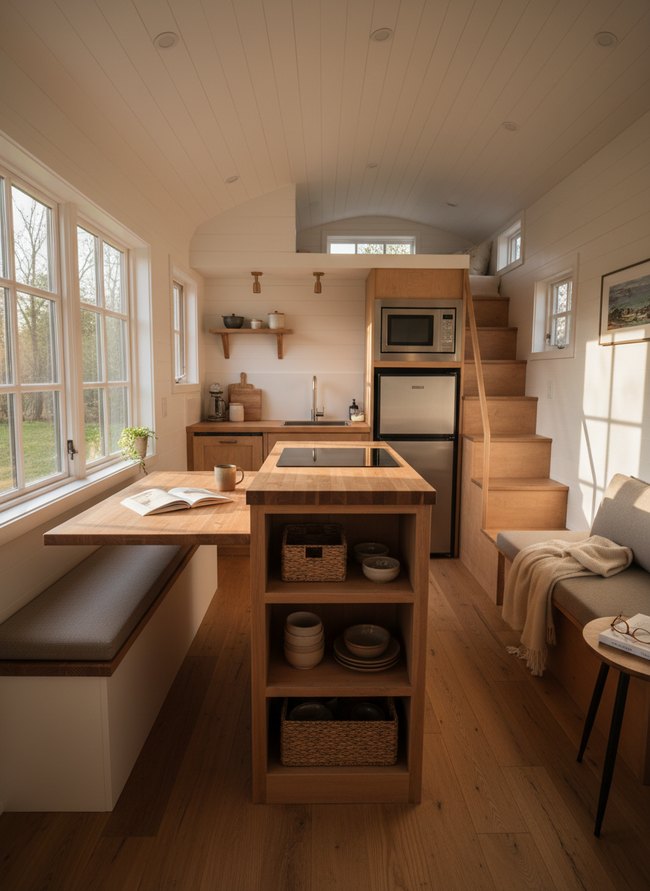
The floating light wood countertop extends from the kitchen island, forming a seamless dining surface. The clever design connects two distinct areas, saving precious floor space within the tiny home. Light wood shelves below the island offer open storage for woven baskets and ceramic bowls. The integrated bench seating with its dark gray cushion further maximizes the compact kitchen layout.
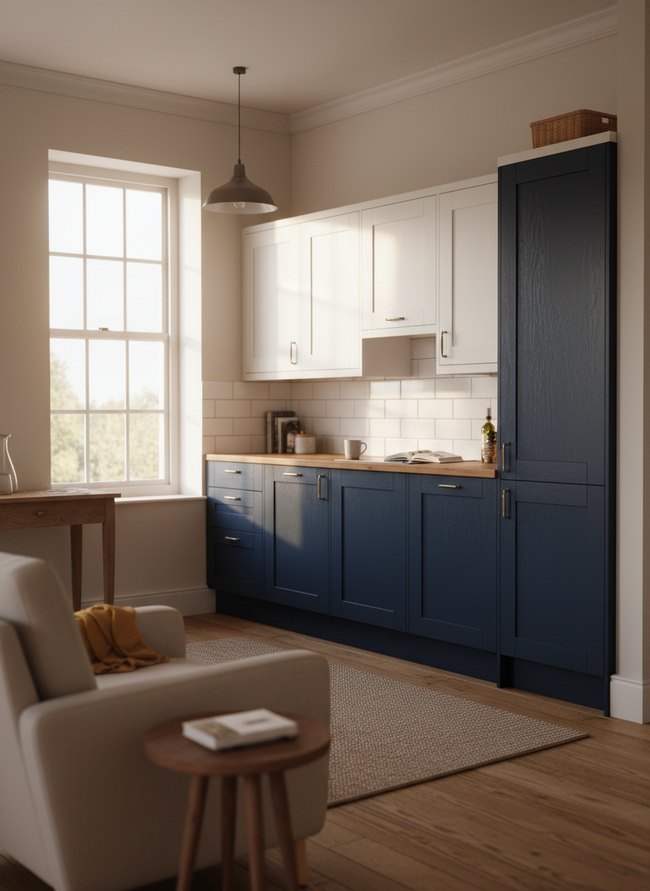
5. Streamlined Single Wall Design
Light wood cabinetry wraps around the corner, creating an L-shaped kitchen that uses minimal wall space. The design smartly tucks the bronze faucet and integrated appliances into a compact footprint. Warm wooden shelves above the countertop offer open storage for dishes. Homeowners can steal the clever L-shaped counter for their own tiny kitchen layout.
6. Convertible Dining Nook Setup
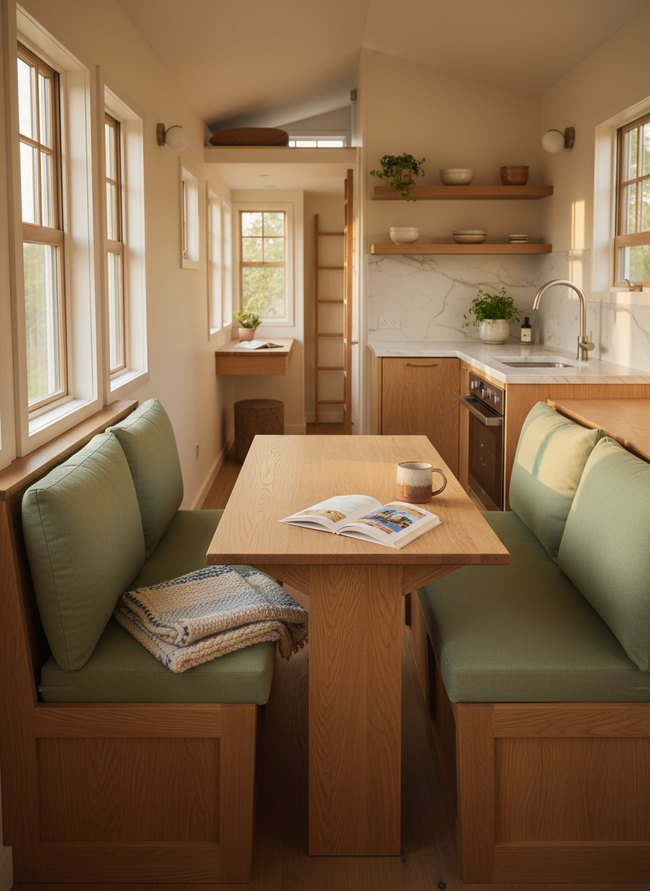
Built-in oak benches with green cushions create a space-saving dining nook. The arrangement allows a functional dining area without blocking the narrow walkway or disrupting the small kitchen’s workflow. Warm oak cabinets and open wooden shelves above the white marble backsplash add storage. Integrating seating directly into the structure offers huge gains.
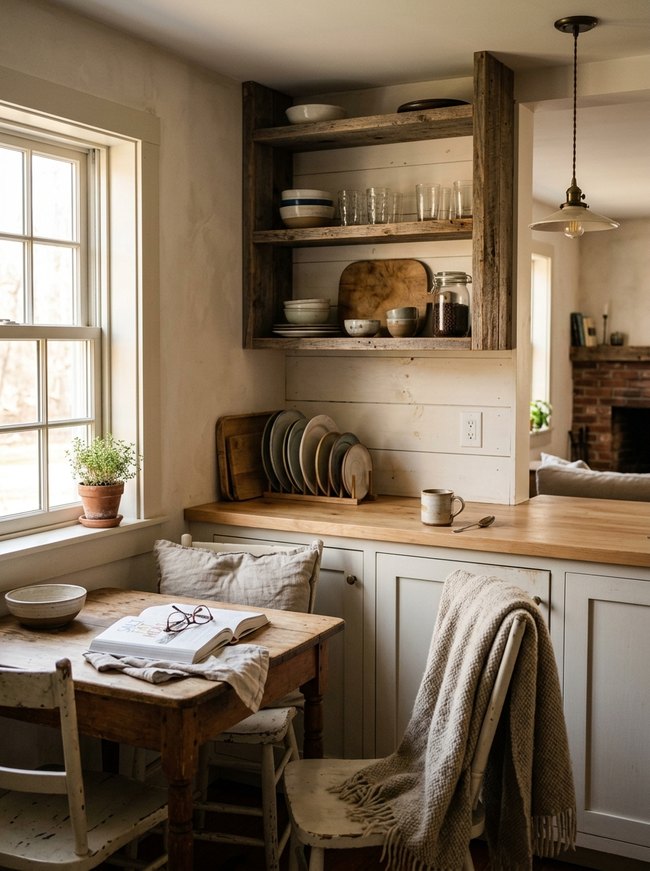
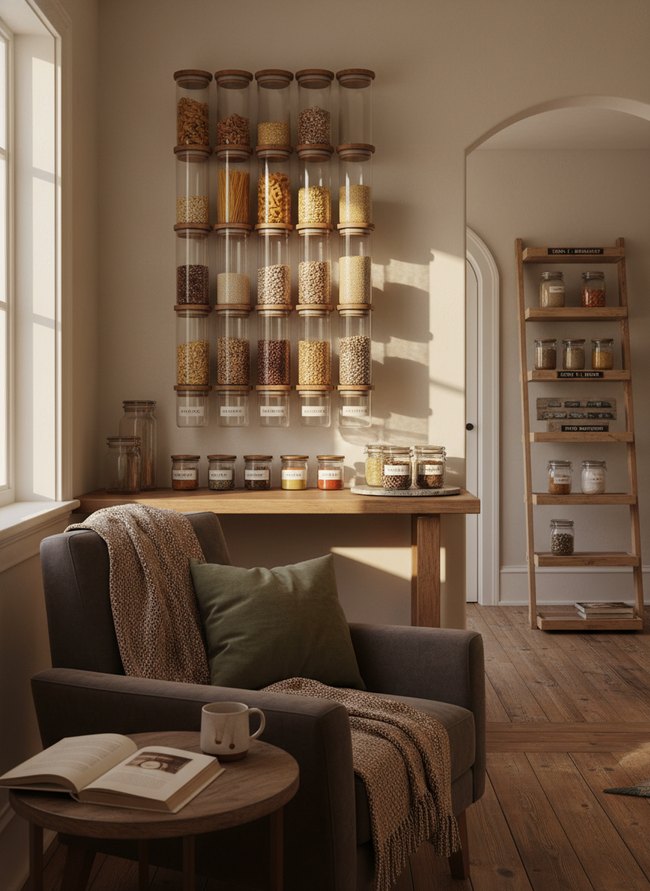
7. Corner Pantry Optimization Scheme
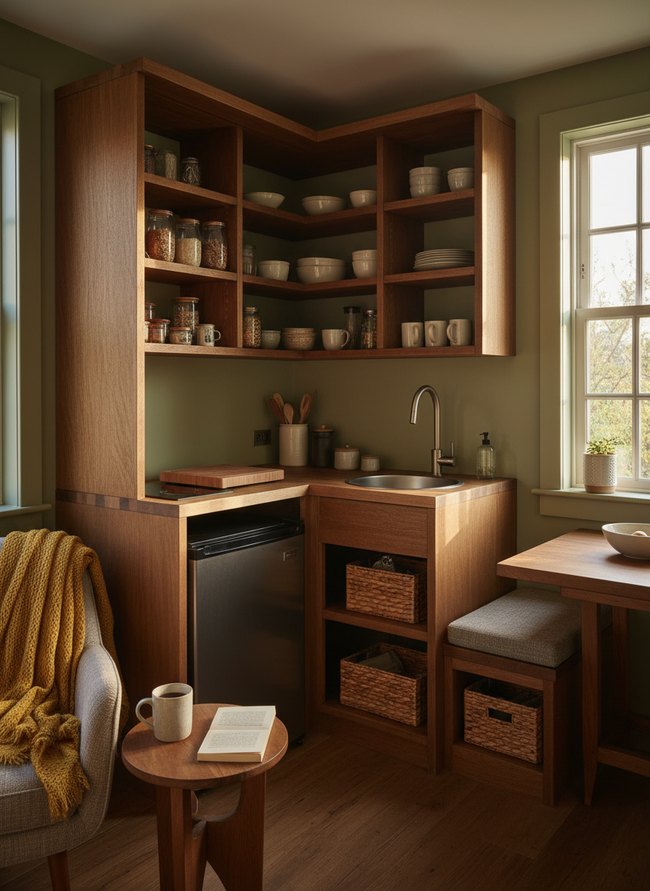
Deep wooden corner shelving provides abundant storage for dishes and pantry items. The kitchen design maximizes vertical space, turning a tight corner into a functional pantry. A small stainless steel refrigerator fits neatly under the countertop, offering cold storage without wasting floor space. The shelving strategy optimizes a tiny kitchen layout.
8. Under Stair Kitchen Integration
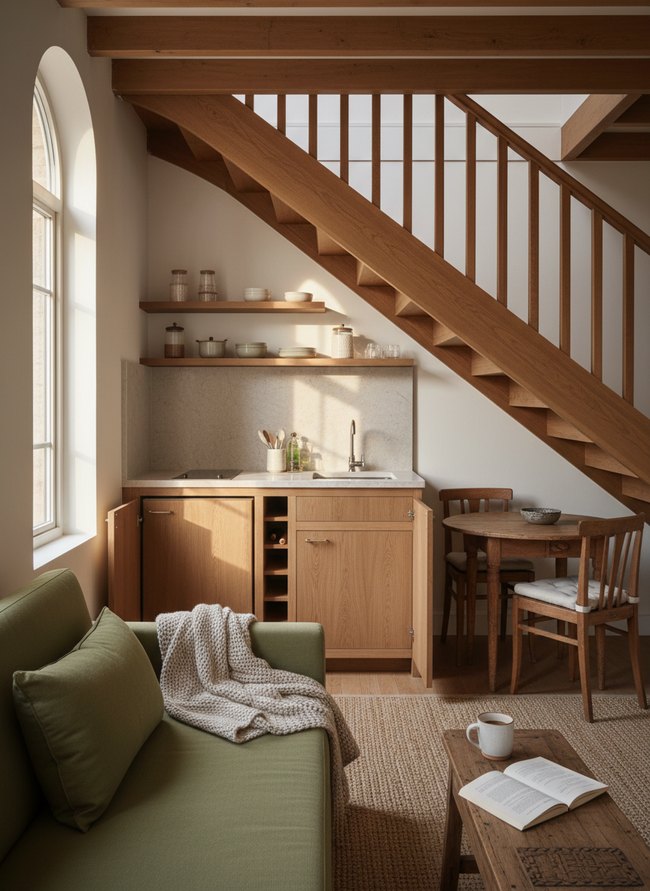
A solid oak staircase creates a natural ceiling for the kitchen space, making clever use of an often-wasted area. Blonde wood cabinets with flush panels sit compactly under the stairs, keeping the kitchen profile low. A small round dining table with two wooden chairs tucks neatly beside the kitchenette. Integrate kitchen functions directly under existing architectural elements.
9. Fold Away Appliance Strategy
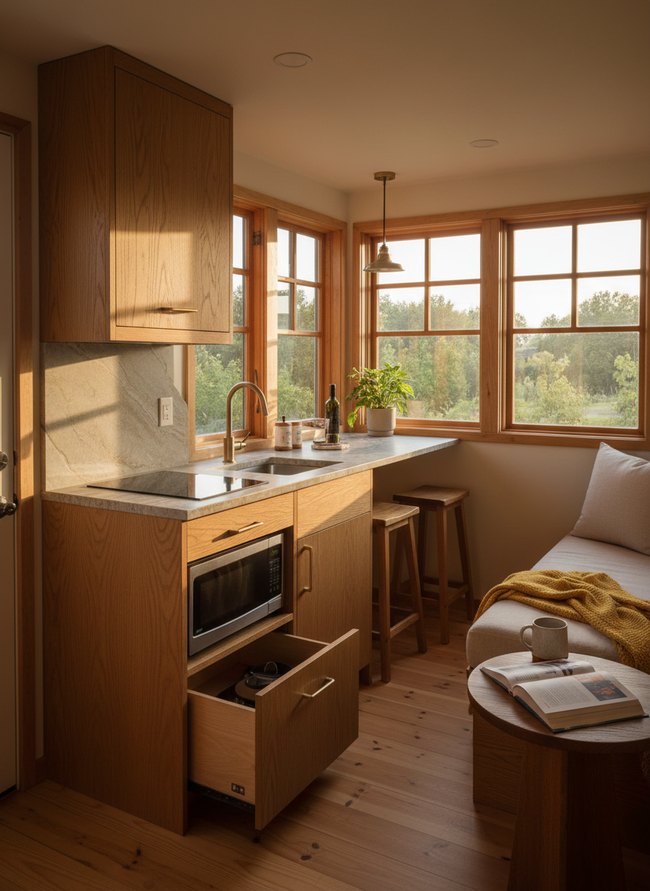
A nested, pull-out appliance drawer creates hidden storage below the microwave. The clever design keeps the countertop clear for food prep, making the small kitchen feel much larger. Light wood cabinets and a pale gray countertop also contribute to the open, airy feeling. The nested appliance drawer idea is worth stealing.
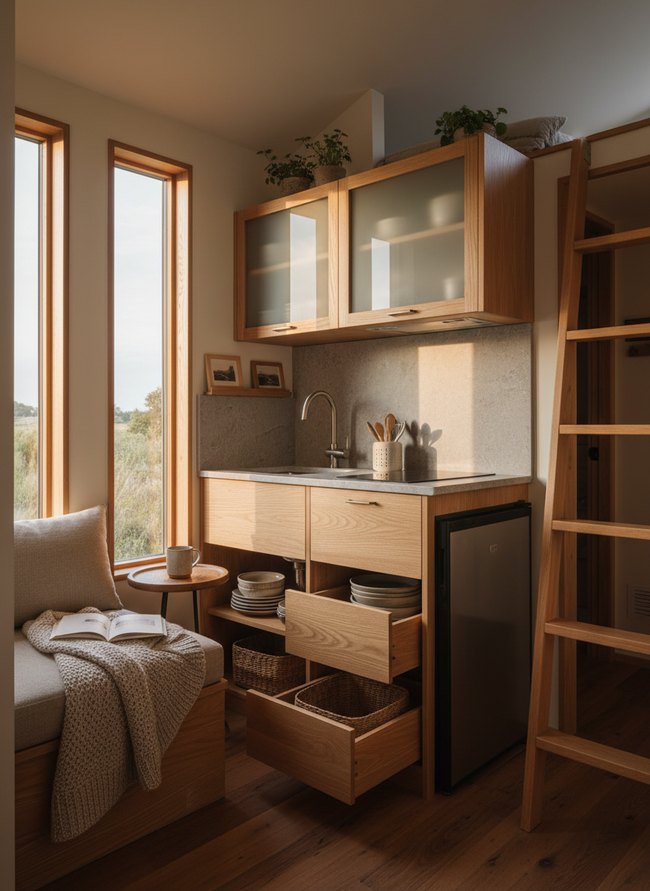
10. Vertical Storage Focus Plan
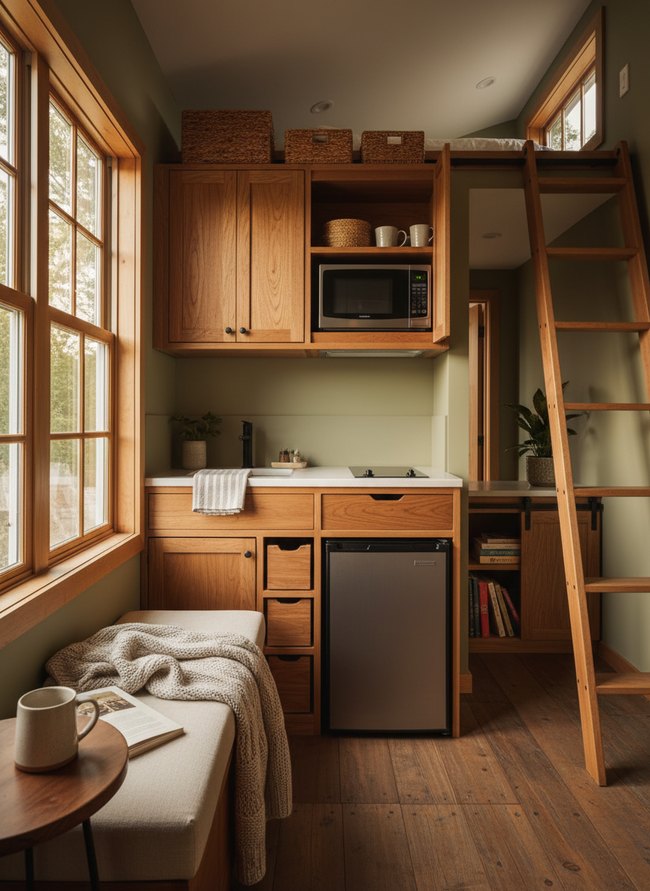
The kitchen uses vertical wall space for maximum storage. The strategy works well in a tiny kitchen layout because the design keeps floor areas clear for movement. A light wood ladder reaches a loft bed above the tall kitchen cabinets, a small metal microwave, and a compact silver refrigerator. The clever design move stacks appliances and storage upwards.
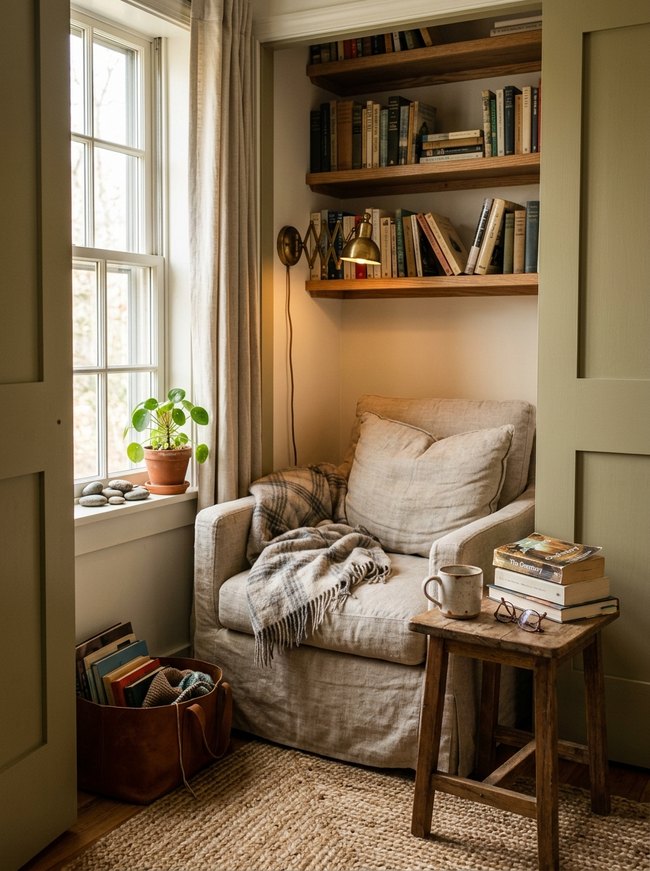
11. Open Shelf Concept Layout
Open wooden shelves above the countertop create an airy, accessible storage solution. The open shelving works well in a tiny kitchen because it removes bulky upper cabinets, making the space feel larger. A concrete gray countertop and natural oak cabinetry combine for a warm, functional zone. The open shelving provides lightweight storage.
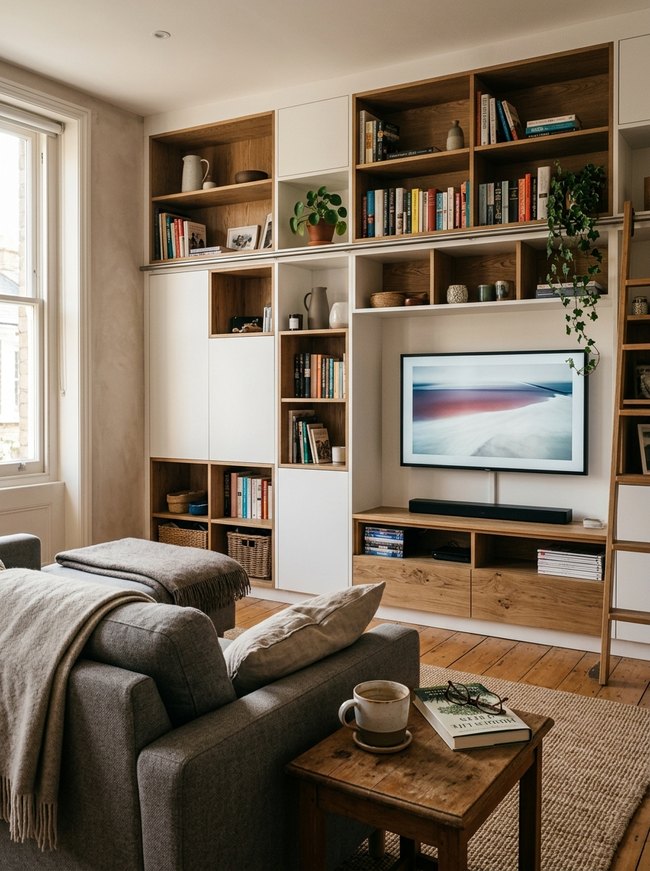
12. Modular Unit Arrangement
Oak kitchen cabinets use different storage types to fit many items. The method works well for a tiny kitchen layout because it mixes open shelves with closed drawers. Two tall windows let in bright sunlight beside the built-in sitting bench. Layering varied storage solutions into one compact area is a move worth stealing.
The 1.2-Meter Threshold: Optimizing Kitchen Workflow in Micro-Dwellings
A kitchen work triangle needs sides no longer than 1.2 meters in a small living space. Your prep counter, the small two-burner stove, and the compact sink form the three points of this triangle. Imagine slicing a red onion on a honey-toned butcher block. You then turn your body ninety degrees to drop the onion into a cast iron pan on the induction cooktop. A few small steps later, you rinse the chopping knife in the stainless steel basin. This tight arrangement keeps your movements efficient. Many small kitchen plans fail when a refrigerator sits too far from the main work area. A mini fridge across a narrow six-foot aisle forces you to take too many steps. Such an extended path breaks the compact workflow. The 1.2-meter maximum for any side of the tiny house kitchen triangle reduces wasted motion. Think of a well-oiled machine where every gear turns close to the next. That compact layout makes cooking in a small area feel easy.
Ventilation Coefficient: Mitigating Humidity and Grease Accumulation in Compact Cooking Zones
Air exchange rates directly affect tiny home kitchen longevity. A wall-mounted, stainless steel range hood with a minimum 400 CFM rating quickly pulls cooking odors and moisture from the small space. Without robust air movement, persistent humidity warps unfinished pine cabinet doors and rusts polished chrome faucet fixtures. Many tiny home builders mistakenly install only a small ceiling fan, which recirculates stale, greasy air instead of removing it. Grease particles then settle onto exposed butcher block countertops and painted shiplap walls, forming a sticky, amber film. A proper ventilation system, featuring a duct leading outside, prevents this buildup. This external venting maintains cleaner air and protects interior finishes. Your kitchen surfaces will stay dry and free from sticky residue. Consider a charcoal filter in your hood for extra odor control. Even a compact cooking zone needs powerful, targeted airflow to remain fresh.
Which Idea Will You Try First?
That’s 12 different takes on plan tiny kitchen layout. The best ideas above are usually the smallest moves — one material, one layout shift, one piece of furniture in the right place. Pick whichever room feels closest to your space and start there before tackling the rest.
Found an idea worth keeping? Save this post to your Pinterest board so it’s waiting for you when you’re ready to start your own project.