How to Build an ADU in Your Backyard (Beginner’s Guide)
Your property holds untapped potential. A detached backyard studio adds extra living space, a private office, or a rental unit. Many homeowners consider adding an Accessory Dwelling Unit, a separate structure with its own front door and kitchen. Builders can construct a wooden frame for the unit, pouring a concrete slab for the foundation. Building a new small house on your property involves many steps, from initial design to final inspection. The projects offer homeowners flexibility and increased property value. New construction requires careful planning and skilled hands. Let’s walk through the main phases of a backyard build.
1. Foundation Slab Construction
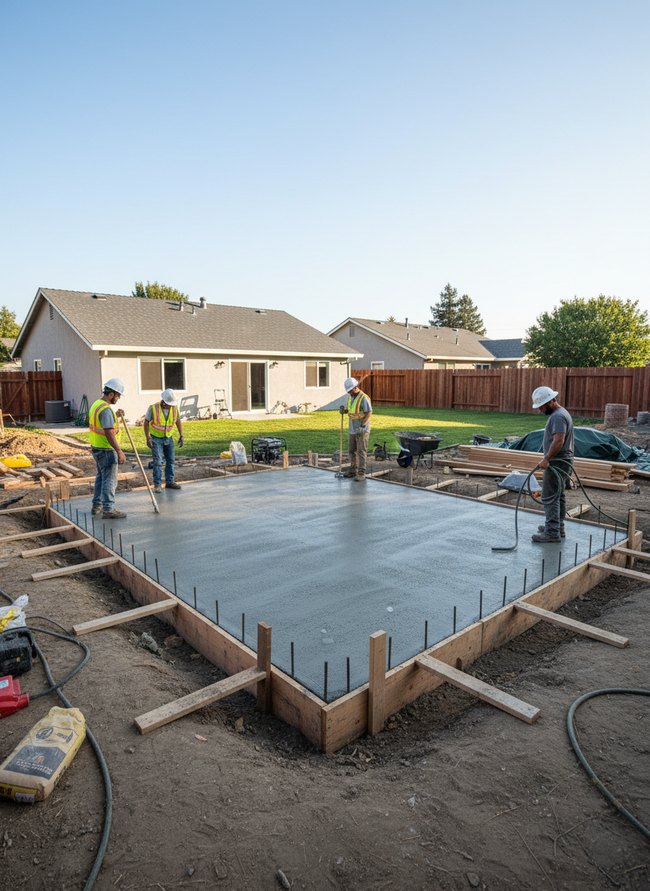
Four construction workers in hard hats and bright yellow safety vests smooth a wet gray concrete slab. Wooden forms create a square perimeter for the ADU foundation, holding the concrete in place. Builders should always ensure proper preparation when constructing ADU projects.
2. Framing Walls Erection

Two workers in bright yellow vests raise a tall wooden wall frame on a gray concrete slab. The crew builds an ADU with light-toned lumber and a brown plywood wall already standing behind them. Always check local building codes before framing walls.
3. Roof Truss Installation
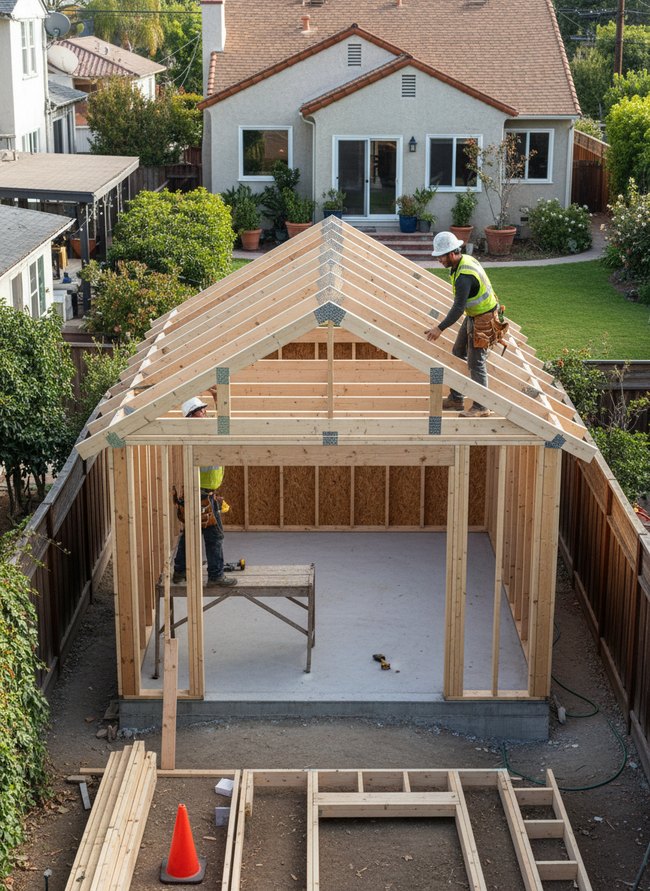
Workers in safety vests and hard hats are installing light wood trusses to form the peaked roof of a new ADU structure. A concrete slab foundation supports the sturdy wood frame, showing you how to build ADU components from the ground up. Proper framing techniques ensure a stable, long-lasting build.
4. Window Door Rough-Ins
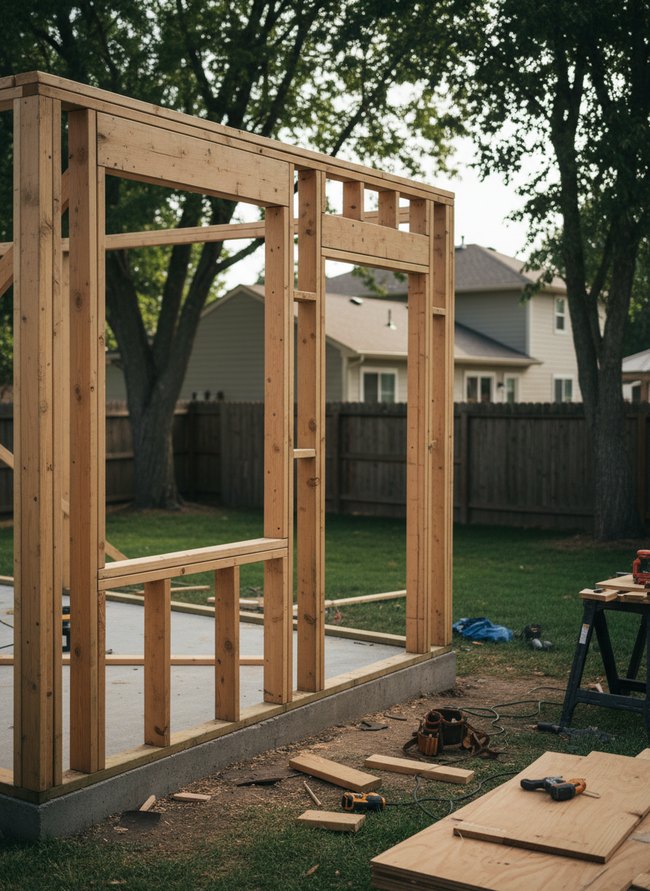
Pine lumber frames the open wall of an ADU, showing rough openings for windows and a door. Wooden studs create the structure, rising from a gray concrete slab foundation. Careful planning of the openings is key when building an ADU.
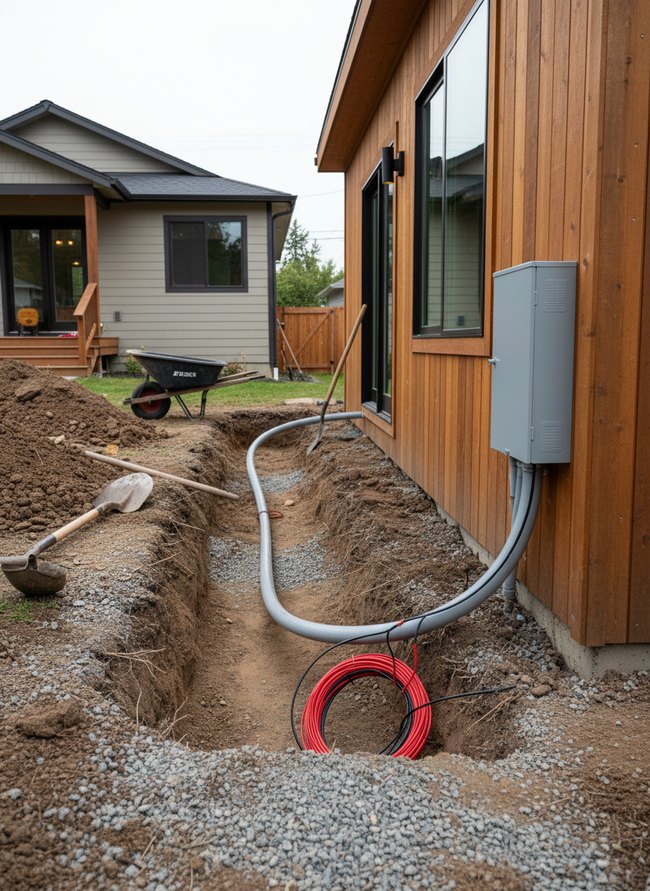
5. Electrical Wiring Layout
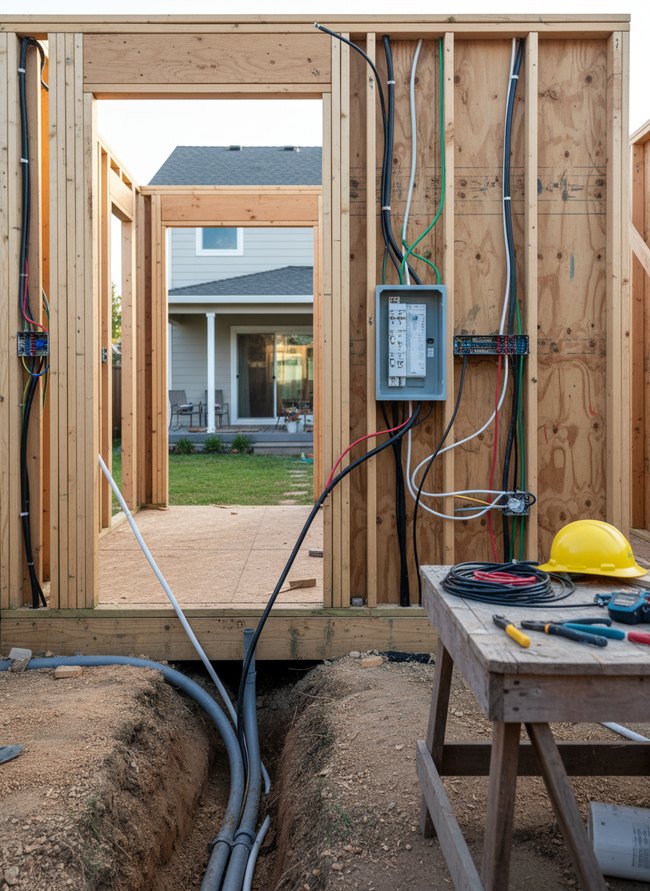
Wooden wall studs frame an unfinished doorway, showing a partially built structure with exposed electrical wiring. Gray conduit pipes run underground into the foundation, connecting to a metal electrical box on the plywood wall. Planning the wiring layout early helps you learn how to build an ADU safely and correctly.
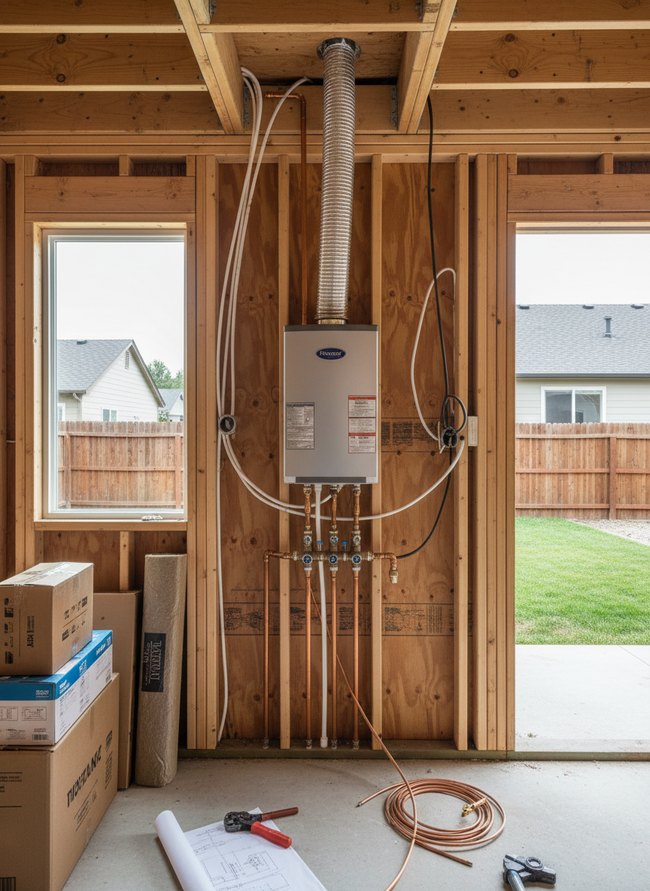
6. Plumbing System Integration
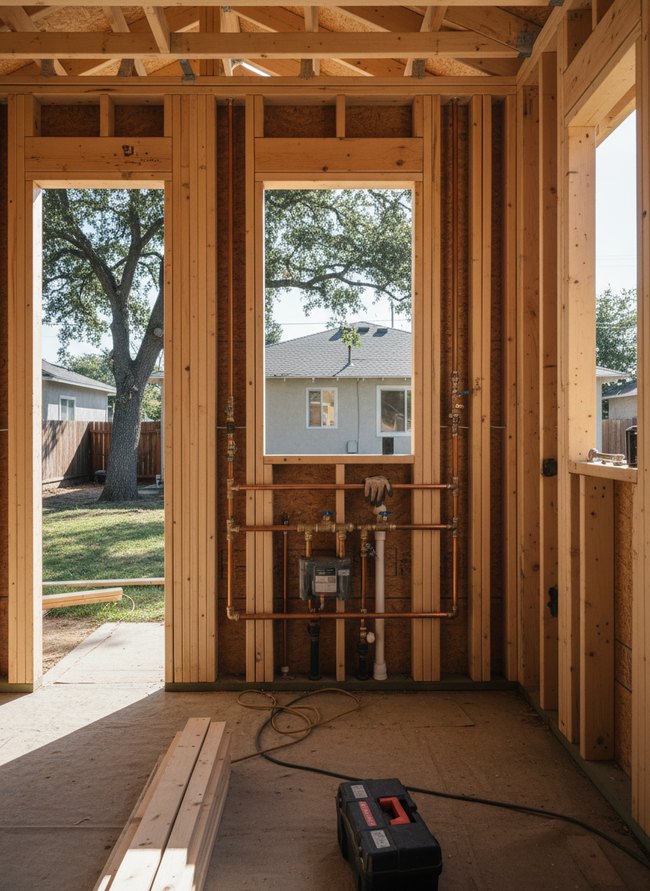
Light wooden studs frame the walls of an unfinished room with exposed copper pipes and brass fittings on a brown OSB board. A white window frame looks out onto a green backyard with a large oak tree. Plumbing systems require careful planning when you build an ADU.
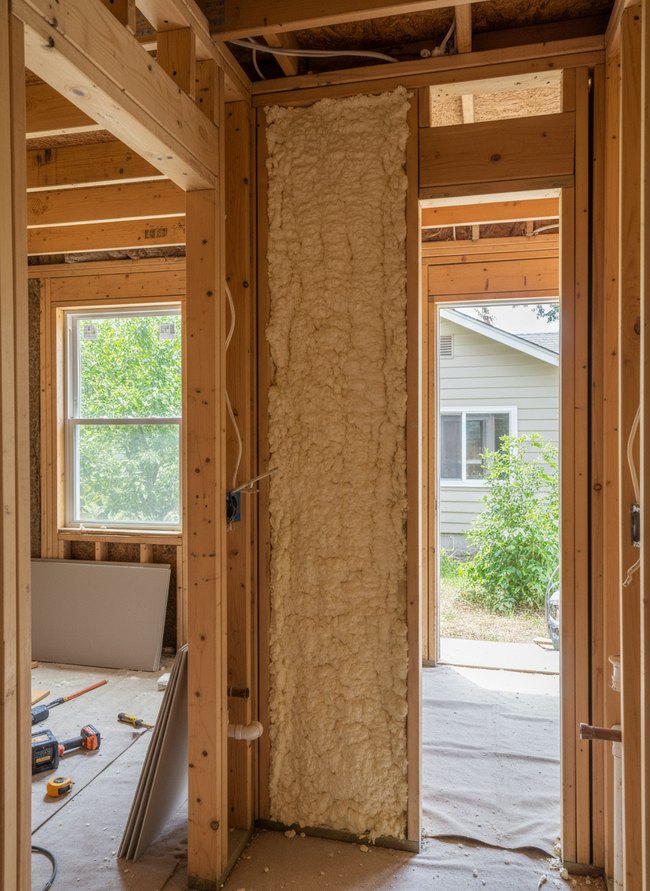
7. Insulation Layer Application
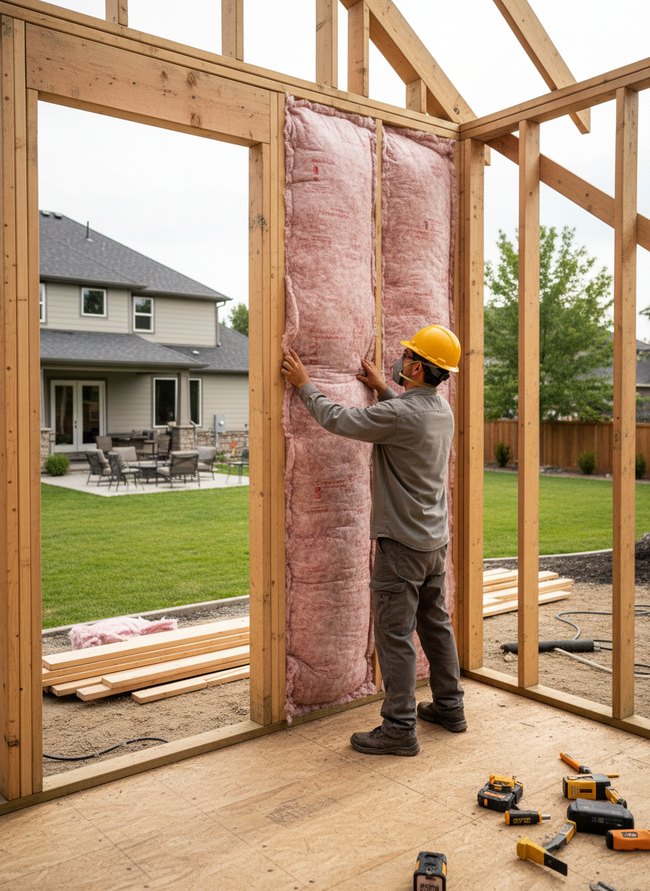
A construction worker in a yellow hard hat and gray work clothes installs pink fiberglass insulation between light wooden wall studs. The insulation fills the deep cavities, creating a thermal barrier for the structure. Proper insulation keeps the new space comfortable year-round.
8. Drywall Panel Finishing
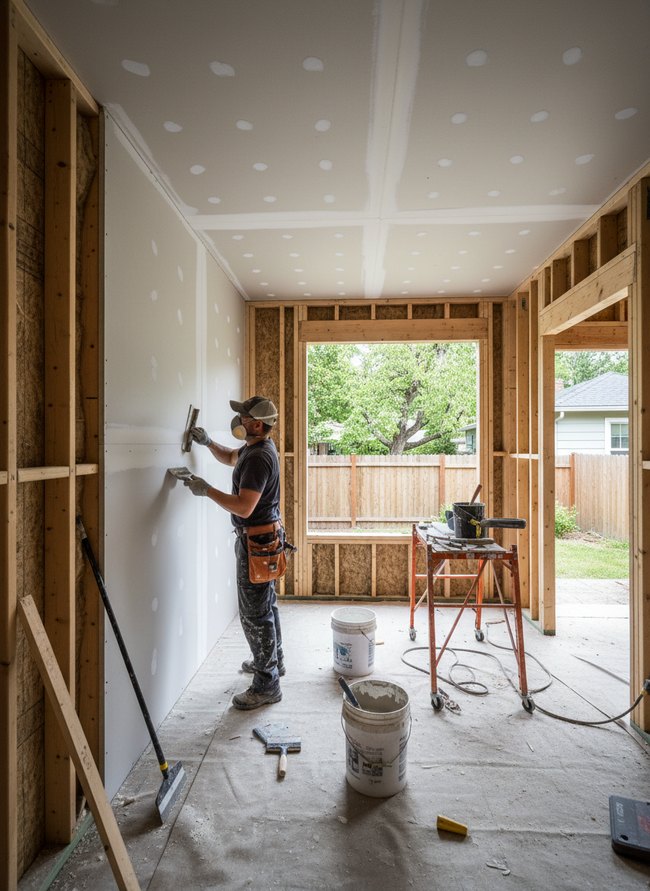
A worker in a gray cap and dark gray shirt smooths light gray joint compound on a drywall panel. Wood framing for the window and walls is clearly visible, showing the bones of the structure. Builders achieve a smooth finish on drywall surfaces when they learn to build ADU walls properly.
9. Exterior Siding Attachment
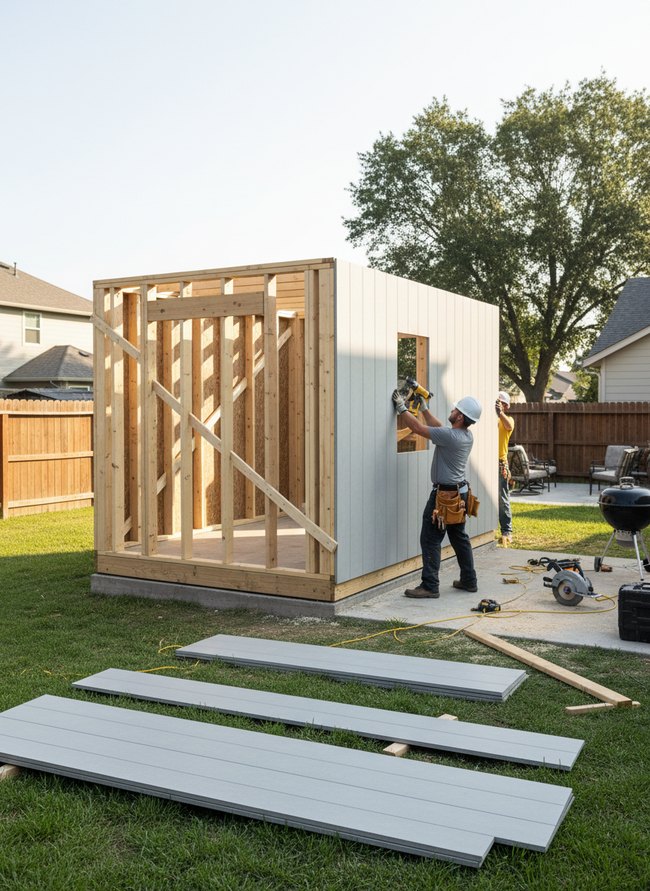
A carpenter attaches light grey vertical siding panels to the wooden frame of a small backyard structure with a power drill. Another worker stands nearby, observing the progress as the exterior walls take shape. The long panels cover the framing.
10. Flooring Installation Options
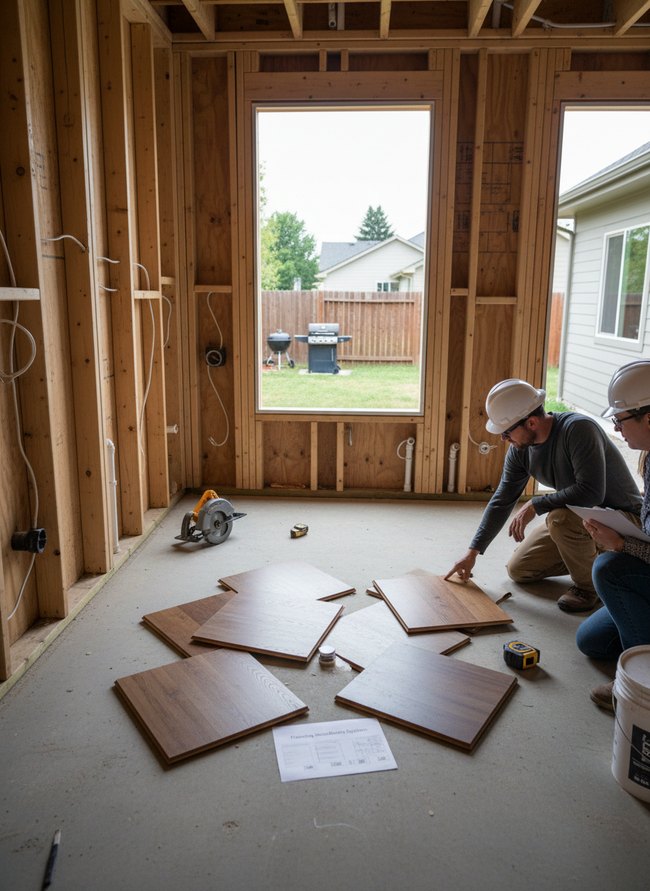
Two construction workers in white hard hats examine brown wood-look flooring samples on a gray concrete slab. Unfinished natural wood wall studs and exposed electrical wires line the room, still under construction for your how to build ADU project. The flooring material will need to withstand heavy foot traffic.
11. Interior Fixture Placement
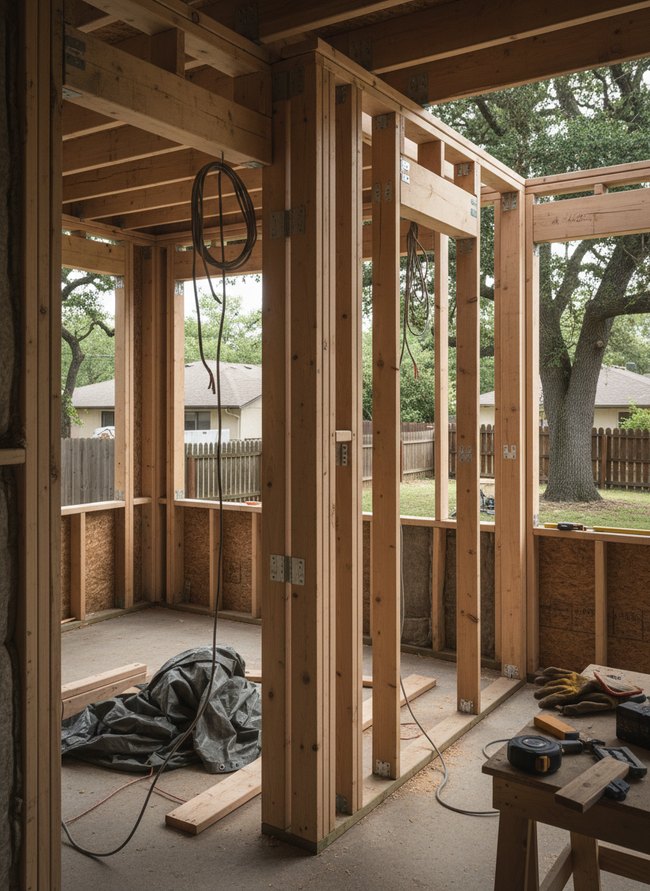
Light brown wooden studs define the interior walls of the ADU, with electrical wires hanging from the unfinished ceiling. The concrete floor and insulation between the wall studs show an early stage of construction. Planning interior fixture placement early ensures wiring is in the right spots.
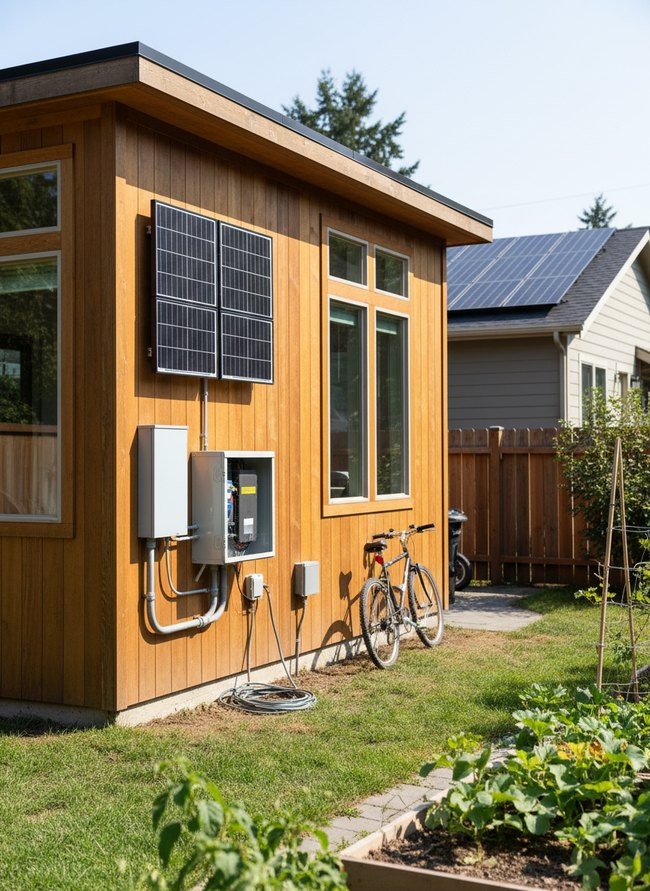
12. Landscaping Design Integration
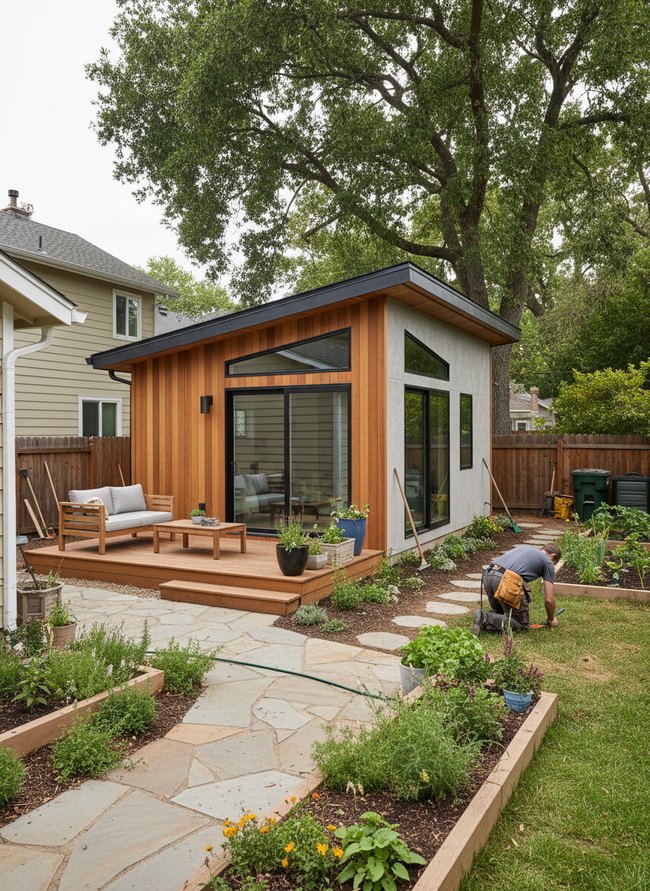
A small modern ADU structure with light gray stucco and warm cedar siding stands under a large green tree. A wooden patio extends from the ADU, holding a light gray outdoor sofa and a matching coffee table. Consider how to build ADU landscaping that naturally blends with the outdoor living space.
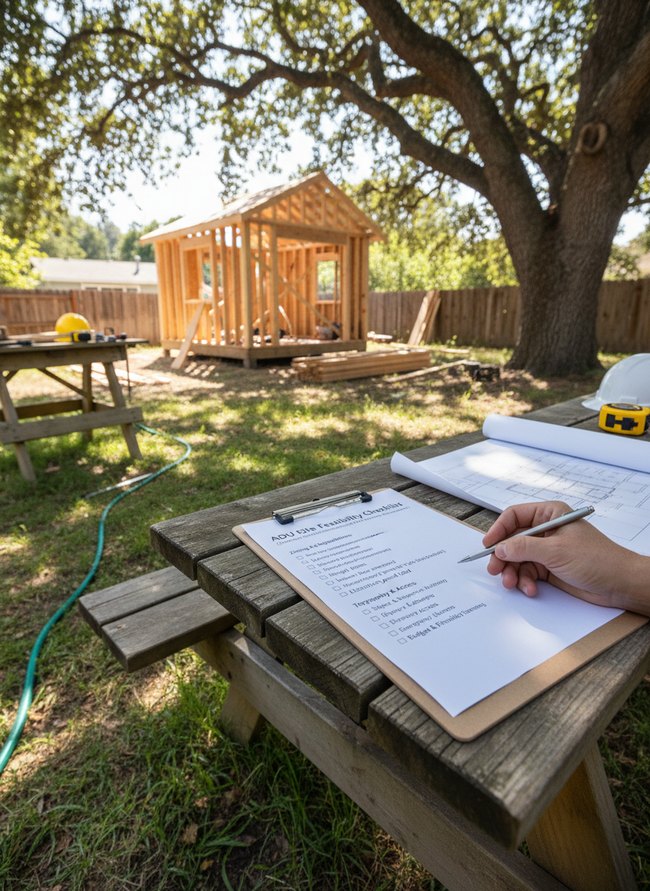
Navigating Local Zoning Laws and Permits for ADUs
Local building codes often limit your ADU’s height to a single story. Many communities now allow a small backyard dwelling, but rules vary widely. Your local planning department holds the key to these specific regulations. A city planner can explain the minimum lot size required for your property. Some towns demand a two-foot setback from your redwood fence. Other municipalities enforce a five-foot distance from your neighbor’s concrete driveway. Property taxes sometimes increase with a new structure, so investigate that financial impact early. Contractors often know the local permit process and can guide your choices. Your county’s planning website usually details the maximum allowable square footage for a backyard unit. A building permit application requires detailed architectural drawings. Those plans must show the precise placement of electrical outlets and plumbing lines. Inspections ensure your new structure meets safety standards. A final inspection approves the completed structure for occupancy.
Cost Breakdown: What to Budget for Your ADU Project
Utility connections often represent a hidden cost in your accessory dwelling unit project. Most homeowners overlook the price of extending water pipes and electrical lines from a main house to a new backyard structure. Permit fees, required by local city zoning boards, also add a chunky sum before any ground breaks. You should set aside a solid 10% of your total budget for unexpected problems, like hitting a buried rock or needing a taller crane. Design plans, drawn by a licensed architect, establish the initial footprint and interior layout of your small home. High-quality building materials, including durable cedar siding and energy-efficient double-pane windows, protect your investment over many years. Skilled labor, like framing carpenters and licensed plumbers, demands fair wages for their precise work. You can save money by buying reclaimed barn wood for interior wall cladding or choosing off-the-shelf kitchen cabinets. Careful planning avoids costly changes later. A finished ADU, offering a compact living space, enhances your property value.
Which Idea Will You Try First?
That’s 12 different takes on how to build adu. The best ideas above are usually the smallest moves — one material, one layout shift, one piece of furniture in the right place. Pick whichever room feels closest to your space and start there before tackling the rest.
Found an idea worth keeping? Save this post to your Pinterest board so it’s waiting for you when you’re ready to start your own project.