The Complete Beginner’s Guide to ADUs
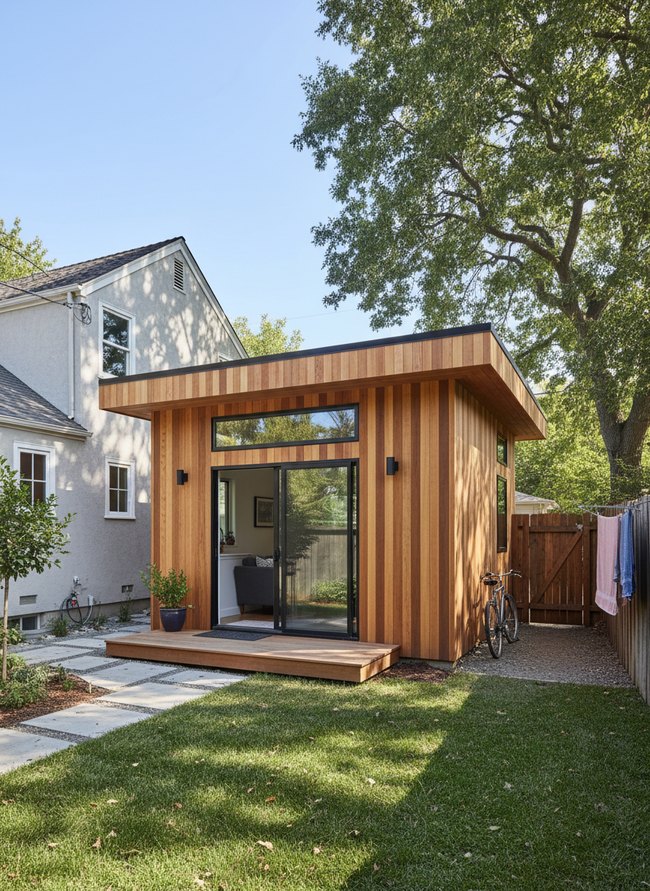
Many homeowners believe a secondary dwelling immediately solves a space problem. A cedar shed or a stucco garage conversion often adds new complications to an existing property footprint. The real value of an ADU lies in its careful planning and integration, not just its existence. The beginner guide explains how these structures function within your existing lot. The guide covers everything from initial zoning checks to final paint colors. A well-placed Accessory Dwelling Unit, like a two-story brick structure with a covered porch, brings significant property improvements. You will discover practical insights for building a sturdy, functional, separate living space.
1. Zoning Regulations Overview
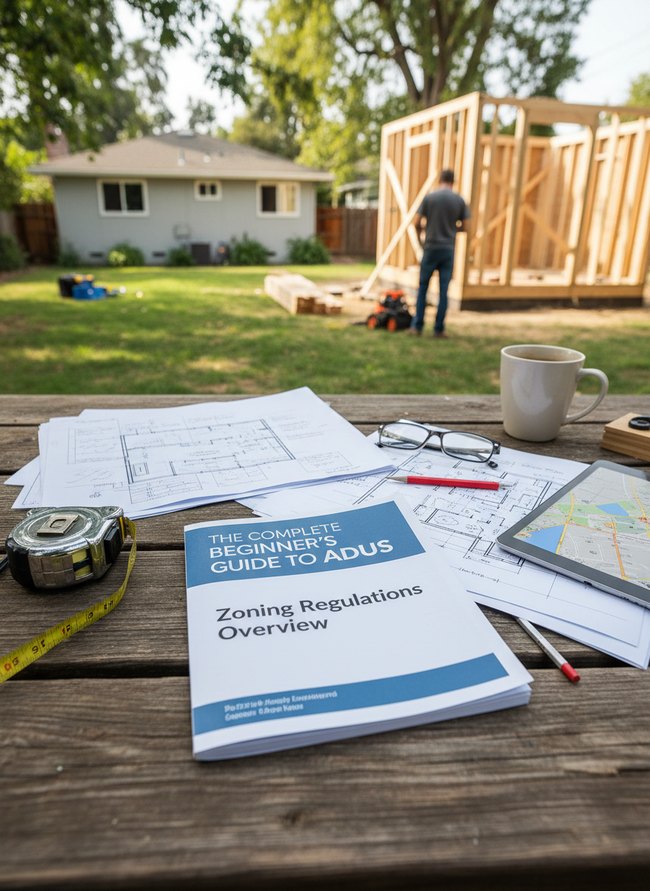
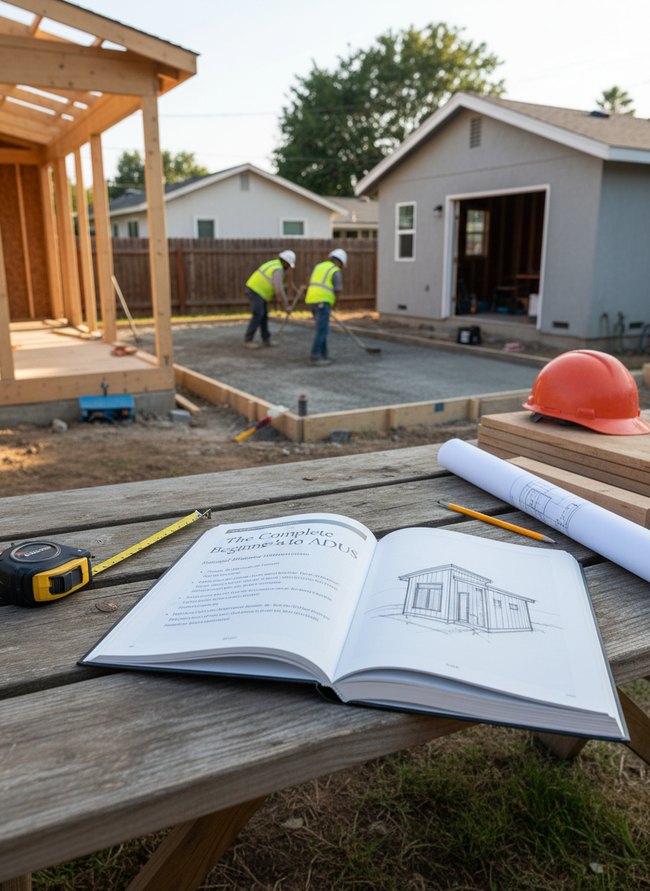
A direct visual link between the printed ADU beginner guide and the backyard construction site works well. The connection clearly shows readers how the guide’s information translates into real-world projects. A white ceramic mug and a yellow measuring tape add a lived-in feel to the wooden picnic table surface. Planners should connect resources directly to physical work.
2. Permitting Process Simplified

The ADU beginner guide book takes center stage, its brown cover lying open on the wooden table. Two silver laptops display project plans, showing how the guide connects to real work. A small wooden structure in the backyard provides a tangible example of the guide’s content. Steal the concrete pairing of visual tools and physical results.
3. Design Principles Essentials
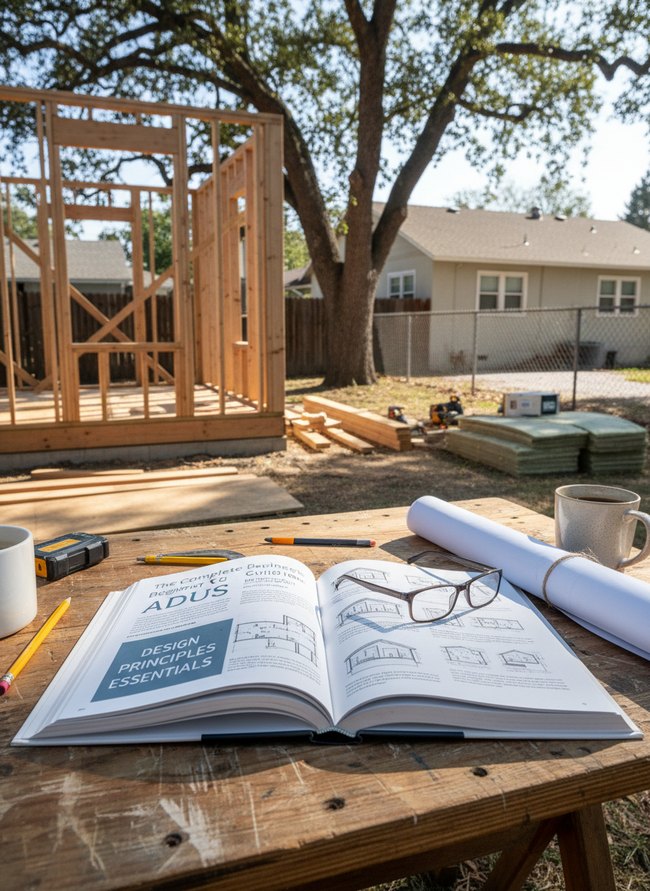
An open book on the rough wooden table shows “Design Principles Essentials” clearly. The ADU beginner guide offers practical diagrams for your small home project. A rolled white blueprint and dark framed eyeglasses rest beside the book. Place your open guide directly on your project site for quick reference.
4. Financing Options Explained

The man holding the open ADU beginner guide works because the book’s title directly names the product. Your eye then notices the tablet displaying digital blueprints, reinforcing the guide’s practical use. A yellow hard hat and tape measure on the rustic wooden table further ground the scene in construction reality. Show your product in action.
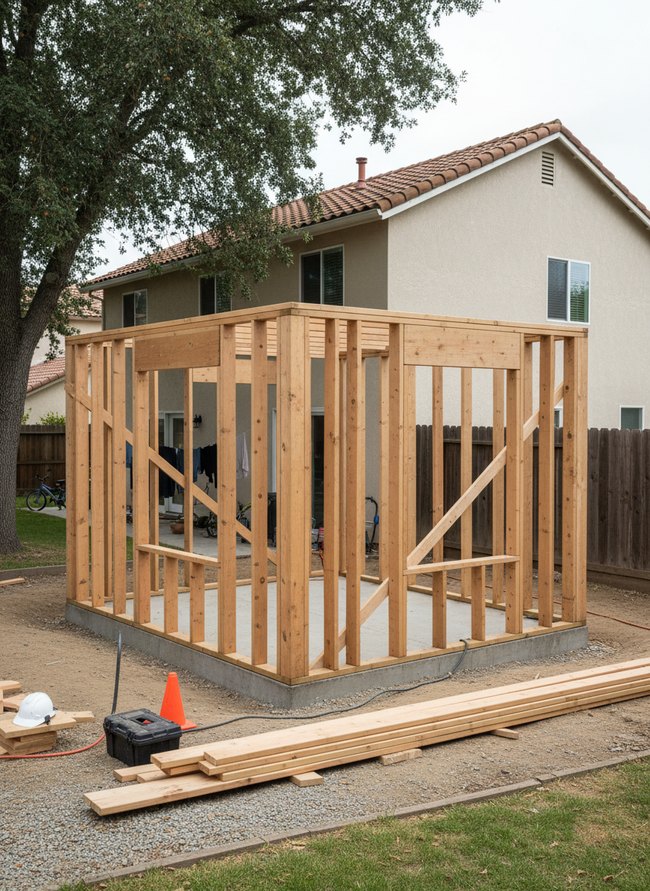
5. Construction Phases Breakdown
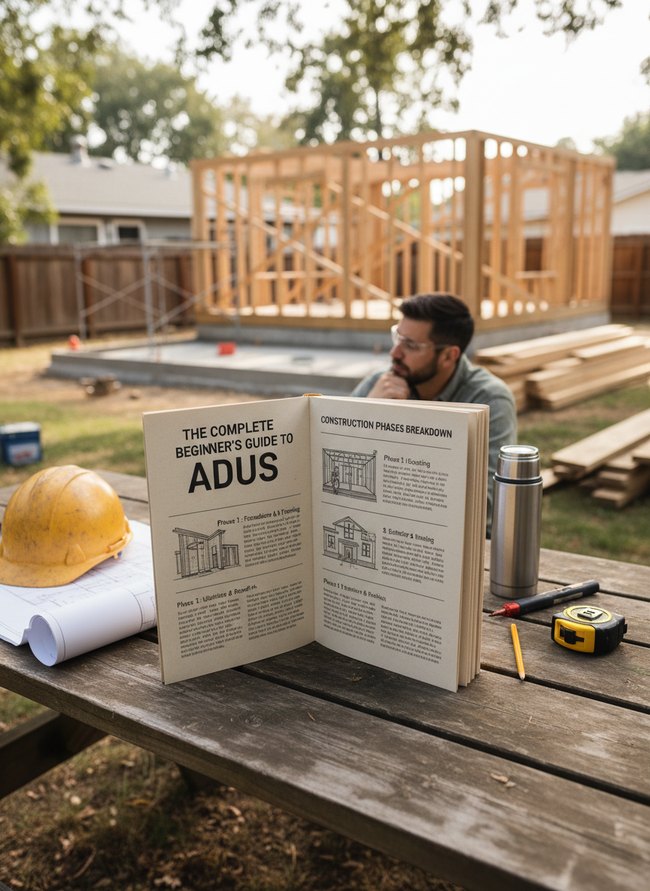
An open book on the rough wooden picnic table plainly shows its “Construction Phases Breakdown” section. The clear visual organization works well because the layout directly addresses common questions about building an ADU beginner guide. A bright yellow hard hat and metal thermos sit nearby, suggesting a practical, hands-on approach. Readers should steal the idea of breaking down complex information into simple, numbered steps.
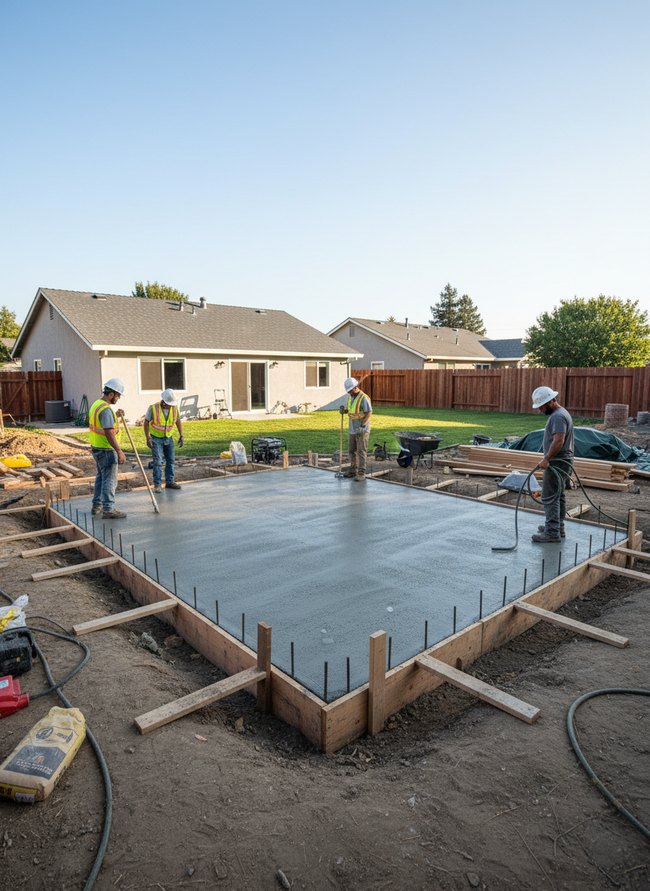
6. Site Selection Strategies

An opened book on the dark wooden table grounds the scene, showing a reader studying an ADU beginner guide. A silver laptop displays building plans, connecting theory to practical application for the project. A white coffee mug emits steam, suggesting a focused work session. A physical guide helps understand ADU site selection strategies.
7. Rental Income Projections

The open book on the rustic wooden table highlights “Rental Income Projections” with a clear bar graph. The visual connection directly shows the guide’s benefit to your future ADU project. A metal tape measure and a black pen sit near the book, suggesting practical planning. Real-world context illustrates abstract ideas.
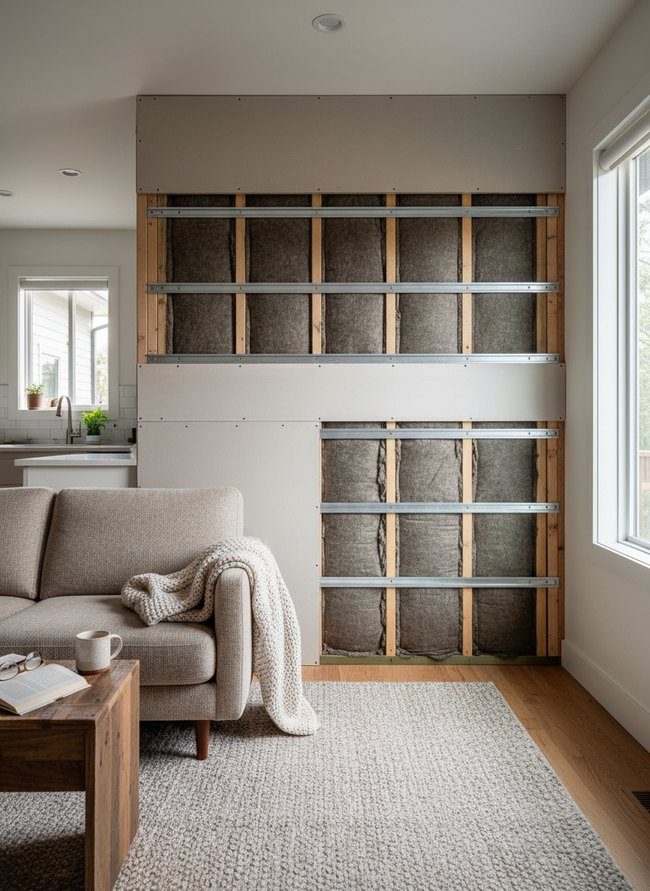
8. Utility Connection Guidance

The open ADU beginner guide book clearly shows utility connection diagrams, giving direct visual instruction. A yellow hard hat and rolled blueprint documents sit nearby, hinting at practical construction. The rough wooden picnic table holds a white ceramic mug, showing a break from the work. Studying the utility diagrams before building is the single move worth stealing.
9. Legal Compliance Checklist

The open book displays a clear “Legal Compliance Checklist” for your ADU beginner guide, offering direct, actionable information. The presentation connects the planning stage to the physical construction of an accessory dwelling unit. A small, white architectural model sits nearby, showing a finished structure with a green roof. A set of rolled blueprints and a yellow tape measure reinforce the building theme. A detailed checklist simplifies complex building requirements.
10. Budget Planning Fundamentals
The open ADU beginner guide on the weathered picnic table immediately draws your eye. Crisp white pages display a detailed architectural drawing of a proposed small building. An orange hard hat rests on rough lumber planks nearby. Use a physical guide to clearly show project scope.
11. Material Selection Guide
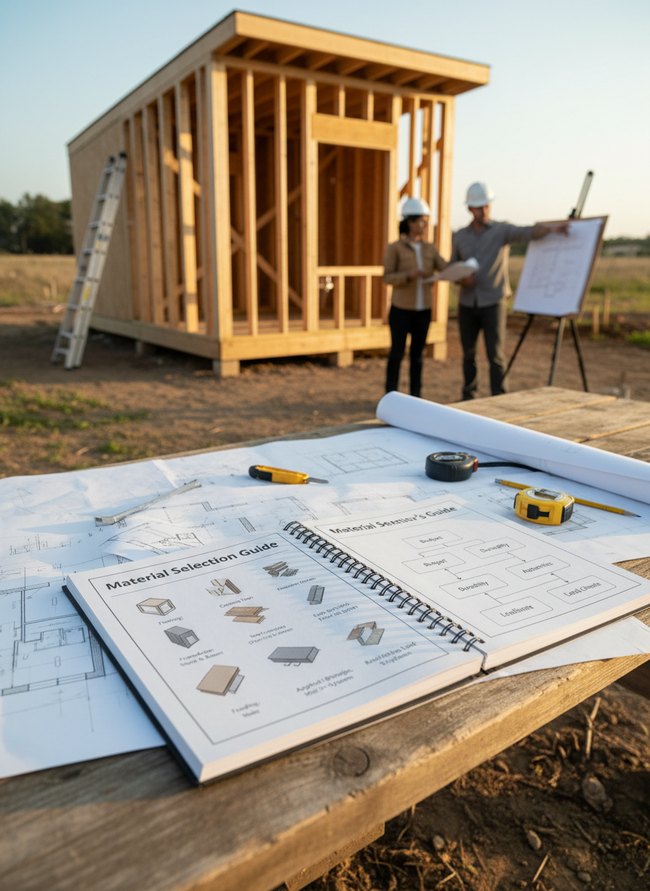
An open “Material Selection Guide” notebook on the rough wooden picnic table clarifies the ADU beginner guide. A clear diagram shows different material options for a small building project. Two construction workers in white hard hats stand near a new timber ADU frame, reinforcing the guide’s practical use. Pick up a guide that clearly lays out material choices.
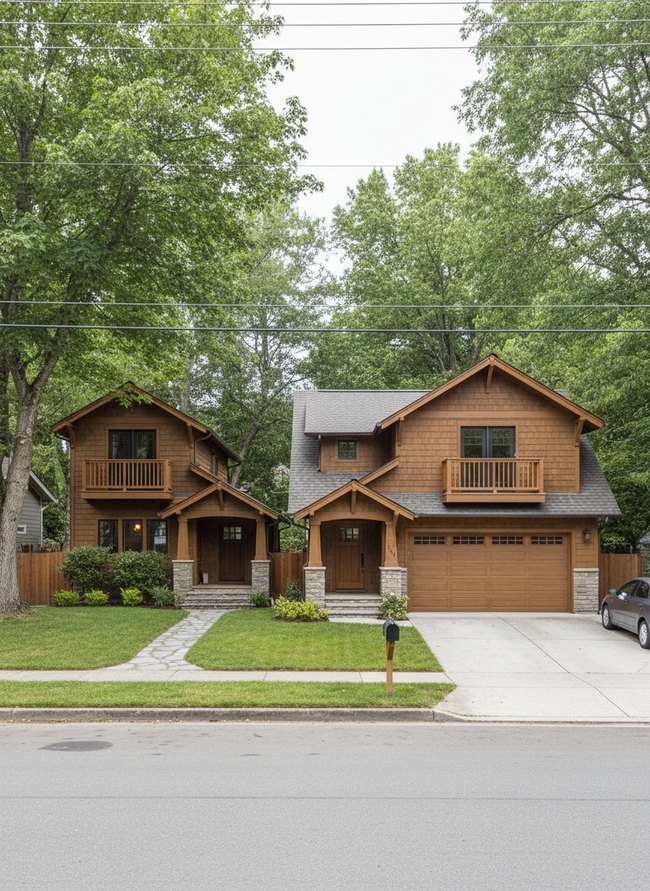
12. Property Value Enhancement
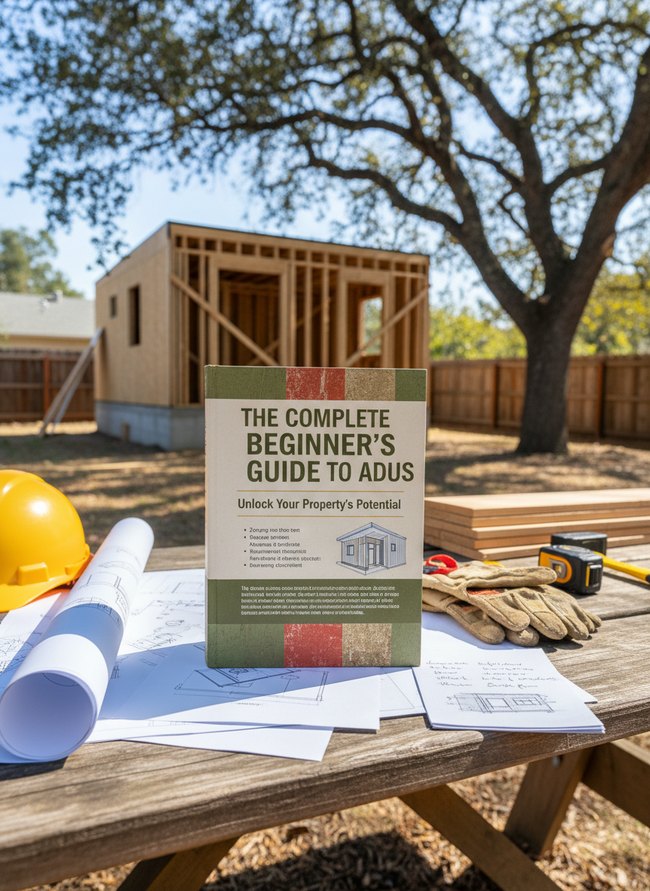
The book’s front cover clearly names the subject, “The Complete Beginner’s Guide to ADUs”, positioning the guide as a key resource. The strong visual connection makes the book the central focus against the backdrop of an unfinished wood-framed building. Construction blueprints and a yellow hard hat reinforce the practical nature of the ADU beginner guide. The visible guide provides practical advice for property value enhancement.
The Micro-Dwelling HVAC Conundrum: Balancing Efficiency and Comfort in Compact Footprints
Micro-dwellings demand multi-functional HVAC systems. A single mini-split heat pump mounted near a vaulted ceiling handles both heating and cooling for a small living space. You gain precious square footage by not needing bulky ductwork. Many homeowners install individual window units, a common mistake that clutters window views and wastes energy. These small, separate units often struggle to reach every corner of an accessory dwelling unit. A well-placed, narrow-profile unit with a single outdoor compressor provides even air distribution. Its slim indoor head unit, painted a matte charcoal, blends into the wall. This integrated approach saves electricity over multiple inefficient appliances. Furthermore, an energy recovery ventilator brings fresh air inside without losing conditioned air, a smart choice for tightly sealed structures. The HRV unit, no larger than a kitchen microwave, fits neatly into an attic crawlspace. You maintain a comfortable interior climate year-round with less equipment and lower utility bills.
Strategic Fenestration: Leveraging Glazing Ratios and Orientation for Passive Climate Control in ADU Design
Thoughtful window placement and careful material choices manage your ADU’s inside temperature. A tall, narrow double-pane window on the south wall captures winter sun. Many builders make a common error, installing large single-pane glass panels without considering summer heat gain. You can reduce cooling costs dramatically with smart design. North-facing windows, for instance, offer consistent, soft daylight without adding much heat. South-facing glass needs an overhang to block high summer sun but welcome low winter light. Proper glazing ratios mean the total window area matches the room’s needs. West-facing openings often benefit from frosted glass or exterior shading to diffuse harsh afternoon glare. East-facing panes welcome gentle morning light, warming the breakfast nook. An architect selects the right type of window glass to resist heat transfer.
Which Idea Will You Try First?
That’s 12 different takes on adu beginner guide. The best ideas above are usually the smallest moves — one material, one layout shift, one piece of furniture in the right place. Pick whichever room feels closest to your space and start there before tackling the rest.
Found an idea worth keeping? Save this post to your Pinterest board so it’s waiting for you when you’re ready to start your own project.